Unsure if calibration and adjustment are the same? This common confusion can lead to inaccurate measurements and compliance failures, affecting your quality and reputation. Let's clarify this important distinction.
No, they are not the same. Calibration compares your device's measurement to a known standard to find any error. Adjustment physically modifies the device to correct that error and bring its performance back into a specified tolerance. Calibration finds the problem; adjustment fixes it.

Many people, even in our industry, use these terms as if they mean the same thing. I've seen this simple mistake cause big headaches for our clients over my 18 years in the business. But knowing the difference is fundamental to maintaining a reliable weighing system. It's not just about words; it's about the entire process of ensuring accuracy1 for your operations. Let's dive deeper into what sets them apart, why it matters for your business, and how we handle it here at Weigherps. This knowledge will help you make better, more cost-effective decisions for your equipment.
What is the key difference between calibration and adjustment?
Struggling to explain the difference to your team? This ambiguity can lead to procedural mistakes and inconsistent quality control. We'll give you a simple, clear definition to use.
The key difference is action. Calibration is a passive act of comparing your scale to a standard and documenting the result. You simply find out how inaccurate it is. Adjustment is an active intervention where you physically change the scale to make it accurate again.

To truly understand the difference, let's break it down by looking at the purpose, what happens during the operation, and the final result. Think of it this way: calibration2 is about knowing, and adjustment3 is about doing. Here at Weigherps, we treat them as two distinct but related steps.
Purpose
The purpose of calibration is to determine and document the deviation of a measurement device. We compare your scale's reading against a highly accurate, traceable standard weight. The goal is simply to find out: "How far off is my scale?" In contrast, the purpose of an adjustment is to bring a device's performance within the agreed-upon tolerance. The goal here is to "Fix the error we found."
Operation and Result
The two procedures are very different in practice.
| Aspect | Calibration | Adjustment |
|---|---|---|
| Action | Compare and record data. No changes are made to the scale. | Physically or electronically modify the scale's settings. |
| Basis | Follows international standards (like ISO 170254) and uses traceable weights (like NIST5). | Follows the manufacturer's specific instructions for the device. |
| Outcome | A calibration certificate showing the scale's error ("as found" data). | The scale now reads accurately, and this is verified with a new calibration ("as left" data). |
So, calibration gives you a report card on your scale's accuracy. Adjustment is the action taken to improve the grade if it fails.
Does calibration automatically include making adjustments?
Do you assume that when you send a scale for calibration, it will come back perfectly accurate? This is a common and potentially costly assumption. Let's clarify what a calibration service actually guarantees.
No, a standard calibration service does not automatically include adjustment. Calibration only provides a report showing the device's accuracy "as found." An adjustment is a separate, additional step that is only performed if the "as found" results are outside your acceptable tolerance.

This separation is critical for quality control. When we calibrate a client's scale, our first step is to measure its current performance. This is the "as found" reading. We record this data on a formal calibration certificate. This document is your proof of the scale's state before we touched anything. It's essential for any business that needs to comply with quality standards like ISO 9001. It shows auditors the history of the equipment's performance and how it may have drifted over time.
Only after this "as found" calibration is complete do we look at the results. If the scale's error is within the client's tolerance, our job is done. But if it's out of tolerance, we then recommend an adjustment. After we perform the adjustment, we must calibrate the scale again to get "as left" data. This second calibration proves that the adjustment was successful and the scale is now accurate. This two-step process ensures total transparency.
Why are calibration and adjustment treated as separate procedures?
You might wonder why you often get billed for two separate services. It can seem inefficient, but this separation is actually critical for your quality control systems and long-term process improvement.
They are kept separate for traceability and data integrity. Recording the "as found" state during calibration is essential for quality audits. Combining them into one step would erase this crucial historical data, making it impossible to track equipment performance over time and prove compliance.

Think about it from an auditor's perspective. They don't just want to know that your scale is accurate today. They want to see the data that proves it has been performing correctly over the past year. If you simply adjust a scale without first recording its "as found" status, you lose valuable information. You don't know if the scale was off by a little or a lot. You can't see trends.
For example, I once worked with a client whose scales were consistently drifting low every winter. By reviewing the separate "as found" calibration records over two years, we identified a pattern. The issue wasn't the scales themselves but the cold factory temperatures affecting the load cells. Without that historical data, they would have just kept adjusting the scales, never finding the root cause. Separating the procedures gives you the data you need to not only maintain accuracy but also to improve your entire process.
When is it necessary to perform an adjustment after a calibration?
Your scale was just calibrated, and the report shows a small error. Is that okay? Knowing when to request an adjustment is key to preventing problems while also avoiding unnecessary costs.
An adjustment is necessary only when the calibration results show the scale's error is outside the pre-defined tolerance for your specific process. If the reading is within the acceptable limits, no adjustment is needed, and the scale is fit for its intended use.

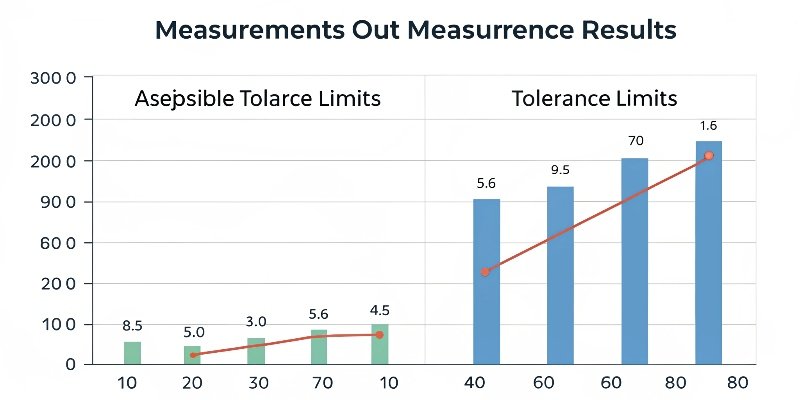
The key word here is "tolerance." Tolerance is the maximum acceptable error for a specific task. A scale weighing large pallets of raw materials might have a tolerance of ±1 kg. However, a laboratory balance used for mixing pharmaceutical ingredients might have a tolerance of just ±0.001 g. The decision to adjust is based on a simple rule: if the error found during calibration is greater than the tolerance, you must adjust. If the error is smaller than the tolerance, no adjustment is required.
So, who sets the tolerance? This is an important decision. It can be defined by legal regulations (for scales used in commercial sales), by industry standards, or by your own internal quality requirements. As a manufacturer, we often consult with our clients to help them define the right tolerances for their applications. Setting a tolerance that is too tight can lead to unnecessary adjustments and costs. Setting one that is too loose can risk product quality and consistency. It's about finding the right balance for your needs.
Conclusion
In short, calibration measures the error, and adjustment corrects it. Keeping them separate is vital for quality control, compliance, and understanding your equipment's long-term performance.
-
Explore the significance of accuracy in measurements to maintain quality and compliance in operations. ↩
-
Understanding calibration is crucial for ensuring accurate measurements and compliance in various industries. ↩
-
Learn about adjustment to understand how it corrects measurement errors and improves device accuracy. ↩
-
Discover the importance of ISO 17025 for laboratories and its role in ensuring measurement accuracy. ↩
-
Learn how NIST standards ensure the reliability and accuracy of measurement devices. ↩


[…] Quality Policy: Your company’s own quality standards, such as ISO 900111, will often dictate the required calibration interval. We help our clients create these […]
[…] do regulations like ISO 90013 or legal-for-trade rules4 […]