You need to weigh heavy industrial loads, but your process demands extreme precision. This conflict between high capacity and fine accuracy feels like an impossible puzzle to solve.
Achieving gram-level precision on a scale with a capacity of 500 kg or more is theoretically possible, but practically it is extremely rare, complex, and costly. Most high-capacity industrial scales offer precision ranging from 20g to 100g, balancing durability with functional accuracy.
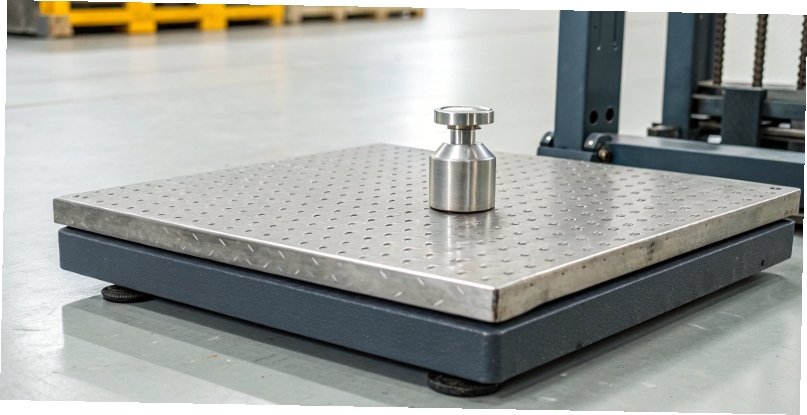
It's a question I get a lot from clients, especially those in tech who are used to pushing the boundaries of what's possible. They see the advancements in software and expect hardware to keep up in every aspect. While we are always innovating, the world of physical measurement has some hard realities rooted in physics and material science. It's not as simple as writing better code. In this post, I want to break down why this is such a huge challenge and explore what you really need to know about scale accuracy, calibration, and limitations. Let's dive into the details that will help you make a more informed decision for your operations.
What can I use for a 500 gram weight to calibrate my scale?
You need to ensure your scale is accurate, but you don't have a certified weight. Using a random object could throw off your calibration and ruin your data's integrity.
The best tool is an OIML or ASTM certified 500g calibration weight. For a quick, non-critical check, a 500ml sealed bottle of water is a good approximation, as 1ml of water weighs almost exactly 1g.

In my 18 years of manufacturing industrial scales1, I’ve seen many creative attempts at calibration. While I admire the ingenuity, accuracy demands standards. For any professional or commercial use, you must use a certified weight. These weights are manufactured to exacting tolerances and are traceable to international standards. However, if you just need a quick confidence check at home or in a non-critical setting, you can use common items. The key is understanding their limitations. A 500ml bottle of water is close to 500g, but this doesn't account for the bottle's weight or variations in water density due to temperature. It's a handy trick, but it's not a true calibration. As people who work with software, you understand that reliable input data is everything. The same applies to scales; a bad calibration is bad input.
Certified Weights vs. Everyday Items
| Item Type | Pros | Cons | Best For |
|---|---|---|---|
| Certified Weight | Extremely accurate, traceable standard | Can be expensive | Professional calibration, legal-for-trade applications |
| 500ml Water Bottle | Inexpensive, readily available | Inaccurate (bottle weight varies), temperature-sensitive | Quick, informal checks, non-critical use |
| Bag of Sugar/Flour | Often labeled with a precise weight | Weight can vary, absorbs moisture | Kitchen use, not recommended for calibration |
How do high precision scales work?
You see "high precision" advertised everywhere. But without knowing the mechanics behind it, it's just a marketing term, making it hard to choose the right scale for your needs.
High-precision scales work using a highly sensitive load cell that converts the force of weight into a minute electrical signal. An advanced analog-to-digital converter (ADC) then translates this signal into a digital value, which internal software refines by compensating for environmental factors.
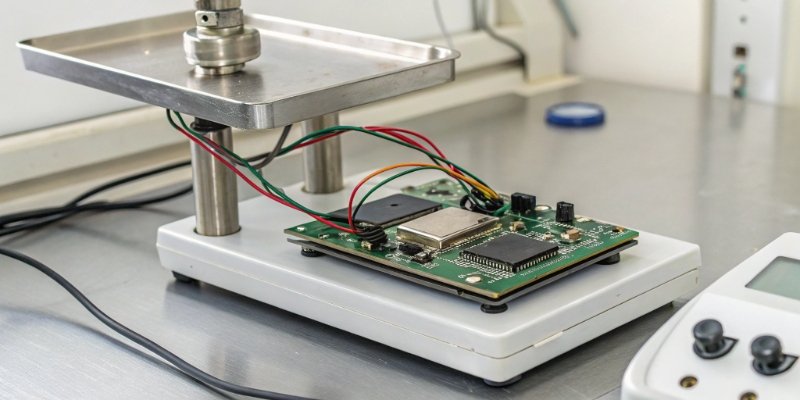
The magic of a precision scale happens in a few key stages. Think of it as a small, focused electromechanical system. As a manufacturer, we spend most of our R&D time perfecting the interaction between these components. It's a delicate balance. A more sensitive load cell is often more fragile, and more sophisticated software requires better processing power. For your work in software integration2, understanding this hardware layer is crucial. The data from the scale is only as good as the components that generate it. Your software can't fix a measurement that was physically inaccurate from the start.
The Core Components of Precision
- The Load Cell: This is the heart of the scale. Most digital scales use a strain gauge load cell3. It's a small metal beam that deforms slightly when weight is applied. This deformation changes the electrical resistance of gauges attached to it, producing a very small change in voltage.
- The Analog-to-Digital Converter (ADC)4: The tiny voltage from the load cell is an analog signal. The ADC measures this signal and converts it into a digital number that the scale's processor can read. A higher-resolution ADC can detect smaller changes in voltage, leading to higher precision.
- The Processor and Software: This is the scale's brain. It takes the raw digital number from the ADC and converts it into the weight you see on the display (e.g., grams, kilograms). Crucially, the software also runs algorithms to filter out "noise" from vibrations and compensate for temperature changes5 that can affect the load cell's accuracy.
What is the standard weight for testing high capacity weighing machines?
You need to verify the accuracy of a large, high-capacity scale. Using inadequate test weights can lead to false confidence and costly errors in your inventory or production.
High-capacity scales are tested using large, certified cast iron test weights, often classified under standards like OIML M1. Testing involves placing weights at various points across the platform and incrementally up to the scale's full capacity to ensure accuracy and linearity.

At our facility, quality control is everything. Before any scale ships, it goes through a rigorous testing process using these standard weights. You can't just put a small weight on a large scale and assume it's accurate across the board. We have to verify its performance under different conditions to guarantee it meets specifications. For a client like you, who may integrate our scales into a larger automated system, this verification is non-negotiable. The integrity of your entire system could depend on the scale's reliability. This is why we perform multiple types of tests, not just a simple check at one weight.
Key Tests for High-Capacity Scales
| Test Type | Purpose | How We Perform It At Weigherps |
|---|---|---|
| Corner Load Test | To ensure the scale gives the same reading no matter where the load is placed on the platform. | We place a test weight (typically 1/3 of capacity) on each corner and in the center, checking that readings are consistent. |
| Linearity Test | To confirm the scale is accurate from zero all the way up to its maximum capacity. | We add certified weights in increments (e.g., at 25%, 50%, 75%, and 100% of capacity) and record the reading at each step. |
| Repeatability Test | To verify the scale gives the same result every time the same weight is applied. | We place and remove the same test weight multiple times and check that the readings are identical or within a tiny tolerance. |
What are the limitations of a weight scale?
You invest in a quality scale and expect flawless performance. But environmental factors and physical limits can introduce errors, compromising the data you rely on for your business decisions.
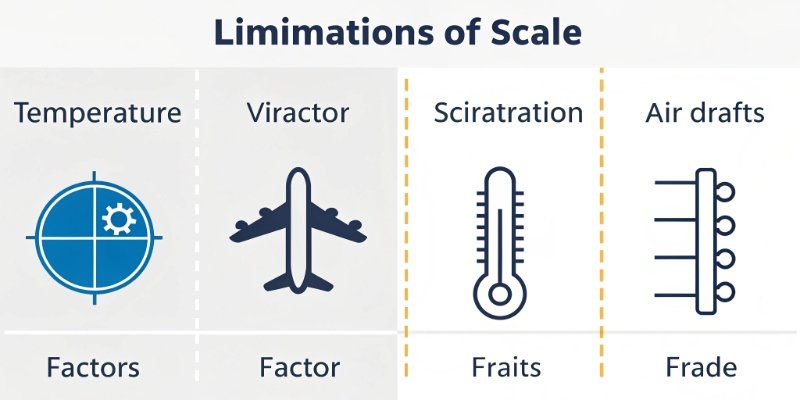
A scale's primary limitations are its capacity/precision trade-off, where high capacity reduces precision, and its sensitivity to the environment. Factors like temperature, air drafts, vibration, and even electrical interference can significantly impact accuracy, along with potential user errors.
This brings us back to our original question. A scale designed to safely handle a 500 kg load needs a thick, robust platform and a stiff load cell. This sturdiness prevents it from being sensitive enough to reliably detect the minuscule force of a single gram. It's a fundamental trade-off in mechanical engineering. This is why our engineers confirm that creating a 500kg scale with true 1g precision is not practical with current technology, and it's a capability no client has ever seriously requested because the cost would be astronomical. It's far more effective to use the right tool for the job: a high-capacity scale for heavy loads and a separate high-precision scale for small measurements. Beyond this core trade-off, other factors can also limit performance.
Beyond the Trade-Off: Other Real-World Limits
- Environmental Factors: Temperature fluctuations cause metal components, like the load cell, to expand and contract, altering their electrical resistance. Air drafts from HVAC systems can exert force on the platform. Vibrations from nearby machinery can create "noise" that the scale might interpret as weight.
- Usage Errors: Placing a load off-center (eccentric loading6) can cause inaccurate readings if the scale isn't properly compensated. Dropping a weight (shock loading7) can permanently damage the sensitive load cell.
- Calibration Drift: Over time and with use, all scales can drift from their calibrated state. Regular verification and recalibration are essential to maintain accuracy.
Conclusion
Achieving gram-level precision on high-capacity scales is a huge engineering hurdle. To get reliable results, you must understand the scale's limits and choose the right tool for your specific application.
-
Explore the various types of industrial scales available and their specific applications. ↩
-
Learn about the relationship between software and hardware in achieving accurate measurements. ↩
-
Understanding strain gauge load cells is essential for grasping how precision scales operate. ↩
-
Learn about the ADC's function in converting signals for accurate weight readings. ↩
-
Explore how environmental factors like temperature can impact the performance of weighing scales. ↩
-
Understanding eccentric loading is important for ensuring accurate weight measurements. ↩
-
Discover the effects of shock loading on scales and how to prevent damage. ↩




Comments (0)