Are you worried your trusted, older scale can't meet today's strict standards? This uncertainty can cause major compliance headaches, but there's a straightforward path forward.
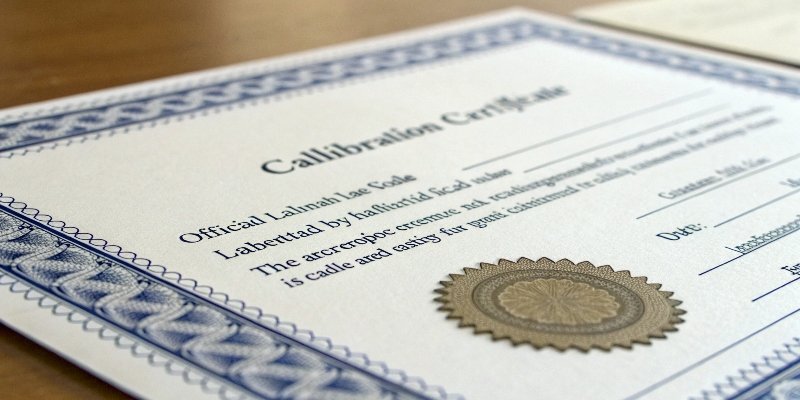
Yes, both old and new scales can get a NIST traceable calibration certificate. The main condition is that the scale must be in good working order and able to perform accurately during the calibration process by an accredited laboratory. Age isn't the deciding factor; performance is.

That simple answer often brings a sigh of relief. Over my 18 years in this industry, I've seen many clients assume they need to budget for all new equipment just to stay compliant. But that’s not always the case. A well-maintained older scale can often be just as reliable as a new one. The key is understanding what the certification process actually looks at and why it is so critical for your business. It’s not just a piece of paper; it’s your proof of quality. Let's dig into what that certificate really protects you from.
What specific risks does my business face if I don’t have a NIST certificate?
You might think an uncertified scale is a minor issue if it seems to work fine. But a single failed audit or product recall can completely derail your operations and reputation.
Without a NIST certificate, your business faces failed quality audits, large regulatory fines, and even legal action. It can also force costly product recalls, destroy customer trust, and disqualify you from contracts that require certified measurements and strict compliance.

When we ship a new weighing system, we always discuss the client's quality requirements. Many of them operate under standards like ISO 90011. A NIST traceable certificate is not a "nice-to-have" in these environments; it's a core requirement. Auditors don't just ask if your scales are calibrated; they ask for the proof. That certificate is your documented evidence. Without it, you could face what's called a "major non-conformance," which can jeopardize your entire ISO certification.
The True Cost of Non-Compliance
The financial penalties are just the beginning. Imagine you supply a component to a major aerospace or medical device company. They will almost certainly audit your facilities. If they discover your measurements aren't traceable, they could pull their contract immediately. I've seen it happen. The loss of a key customer is far more damaging than the cost of proper calibration.
Product Recalls and Brand Damage
This is the nightmare scenario. If your product's quality, safety, or dosage depends on accurate weight, a faulty measurement can lead to a public recall.
| Risk Category | Direct Consequence | Long-term Impact |
|---|---|---|
| Audit Failure | Major non-conformance, re-audit costs | Loss of ISO certification, loss of contracts |
| Product Recall | Logistics costs, product replacement costs | Damaged brand reputation, loss of consumer trust |
| Legal Action | Fines, legal fees, potential shutdowns | Ineligibility for government contracts |
The cost of the recall itself—collecting products, issuing refunds—is huge. But the long-term damage to your brand's reputation can be impossible to recover from. All because a measurement wasn't verified.
How is the traceable number used in actual audits?
You have a certificate with a long, official-looking number on it. But what does an auditor actually do with it? Is it just for show, or does it have a real purpose?
An auditor uses the traceable number to follow the "chain of calibration." They can use it to verify that your scale's accuracy is directly linked back through the lab's equipment, all the way to the primary standards held by NIST.

Think of the traceable number2 as a tracking number for accuracy. I once had a client who was incredibly nervous about their first ISO audit. We walked through their documentation together. I explained that the auditor would not just look at the certificate and nod. They would check the details. The auditor's job is to confirm that the chain of measurement is unbroken. It’s a simple concept, but it's the foundation of global quality standards.
Following the Paper Trail
An auditor’s process for checking traceability is very methodical. They aren't trying to trick you; they are simply confirming facts. Here’s how that number connects everything:
-
Your Scale's Certificate: The auditor starts here. They look at your certificate and note the traceable number2, the date of calibration, and the name of the accredited lab that performed the service.
-
The Lab's Accreditation: The auditor will then verify that the lab itself is accredited (usually to ISO/IEC 17025). This confirms the lab has the competence to perform the calibration correctly.
-
The Lab's Equipment: Your traceable number links your calibration to the specific master weight or instrument the lab used. This master equipment has its own calibration certificate with its own traceable number.
-
Back to the Source: This chain continues from the lab's equipment back to a higher-level lab or directly to NIST (National Institute of Standards and Technology). The traceable number proves this entire unbroken path, ensuring your measurement is consistent with the national standard.
This chain of evidence is what gives your measurements legal and commercial authority.
What does measurement uncertainty mean in a calibration report? How important is it for my work?
Your calibration report says the scale passed, but it also lists a "+/-" value called "measurement uncertainty." It's easy to ignore this number, but doing so could mean your process is not nearly as accurate as you think it is.
Measurement uncertainty is the small margin of doubt that exists in any measurement. It is a range (+/-) that quantifies how close the measurement is to the true value. It's vital because it reveals the real-world performance of your scale.

A scale can "pass" a calibration test, but still have a high level of uncertainty. This is a critical detail. For example, if you are weighing large bags of sand, a higher uncertainty of +/- 10 grams might be perfectly acceptable. But if you work for a software company that integrates with pharmaceutical equipment, that same level of uncertainty could be a disaster. The uncertainty value tells you if the scale is truly fit for its specific purpose.
Uncertainty vs. Your Process Tolerance
The most important reason to understand uncertainty is to compare it to your own production tolerances. Your tolerance is the acceptable range of variation for your product. You need to ensure your measurement uncertainty is significantly smaller than your process tolerance3.
Let's look at a practical example. A client of ours manufactures a high-tech polymer. Their process requires mixing a chemical powder with a tolerance of ±5 grams.
| Scenario | Scale Uncertainty | Process Tolerance | Is it suitable? |
|---|---|---|---|
| Scale A | ± 4.0 g | ± 5.0 g | No. The measurement error is too large. |
| Scale B | ± 0.5 g | ± 5.0 g | Yes. The measurement is reliable for this process. |
In the case of Scale A, the scale's own "doubt" eats up 80% of the allowed product variation. This leaves almost no room for any other process errors. A measurement could read as "in tolerance" when the actual weight is out of tolerance. Scale B, however, has a much smaller uncertainty, giving the production team confidence that their measurements are accurate and their product meets quality standards. Understanding this helps you, as a purchasing manager or technical director, select hardware that truly supports your operational needs.
Conclusion
Both old and new scales can get a NIST certificate if they perform well. This certificate is essential to avoid failed audits, recalls, and lost business. Truth lies in the details.


[…] ISO90012, SGS reports […]