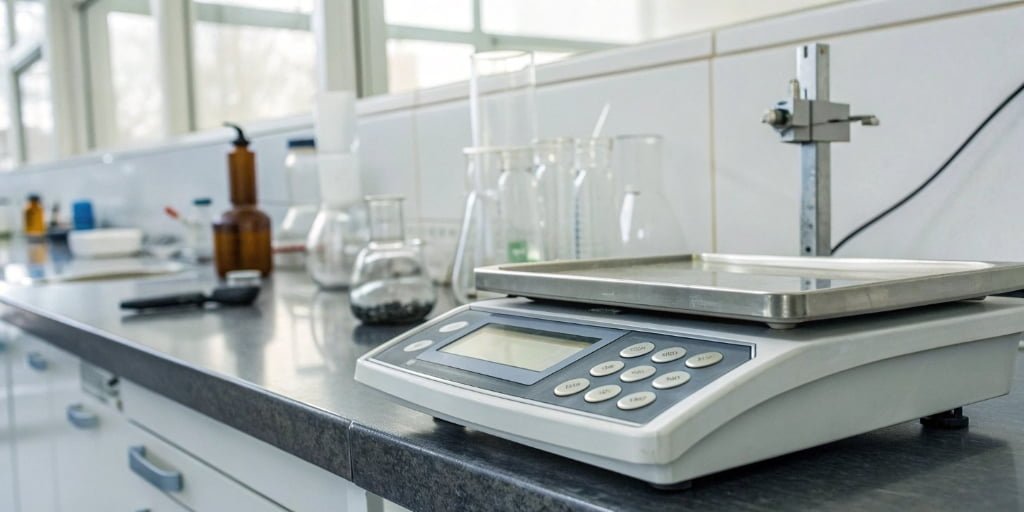
Are you tired of your counting scale giving you the wrong numbers? These errors create inventory chaos, lead to shipping mistakes, and cost your business money. Don't worry, you can fix this.
The most common reasons for counting scale inaccuracies are an unstable environment, incorrect calibration, or hardware issues like an aging sensor. You can fix most problems by ensuring the scale is on a level, stable surface and recalibrating it with certified standard weights.

You might be thinking, "I know it needs to be fixed, but I'm not a scale technician. Where do I even start?" It's a common feeling, but many of these issues are simpler to solve than you think. Let's break down the common reasons your scale might be failing and how you can address them one by one.
Why is my counting scale giving an incorrect piece count?
You place a sample of components on the scale, but the final count is off. This small error seems minor, but it multiplies across thousands of units, causing major stock issues.
An incorrect piece count usually happens for three reasons: an unstable environment, using a wrong initial sample, or the scale simply needs recalibration. External factors like vibrations, air drafts, or even temperature changes can easily interfere with the scale's sensitive sensors and lead to miscounts.

To get to the bottom of this, we need to look at the problem in a structured way. In my 18 years of manufacturing industrial scales, I’ve found that inaccurate counts almost always fall into one of a few categories. The key is to check the simplest things first before assuming the hardware is broken.
Breaking Down the Causes of Miscounts
Think of your counting scale as a very precise calculator. It weighs a small sample of items, calculates the Average Piece Weight (APW)1, and then divides the total weight on the platter by that APW to get the count. If any part of that process is flawed, the final number will be wrong.
| Cause Category | Specific Issue | How It Affects the Count |
|---|---|---|
| Environmental Factors | Vibrations, air drafts, unstable surface | These forces add "noise" to the weight reading, making it impossible for the sensor to get a stable measurement. The APW and total weight will be incorrect. |
| Operational Errors | Incorrect sample size, non-uniform parts | If your initial sample (e.g., 10 pieces) is wrong, the APW will be wrong. Every count after that will be based on this flawed foundation. |
| Hardware Issues | Aged or damaged sensor, loose wiring | The load cell2 (the sensor that measures weight) can degrade over time. This causes the electrical signal it sends to be weaker or unstable, resulting in errors. |
| Calibration Drift3 | The scale has lost its reference points | Over time and with use, all scales lose their perfect "zero" and "span" points. It needs to be reminded what "nothing" and a "known weight" feel like. |
How do you properly calibrate a counting scale for accuracy?
You know your scale needs calibration, but the manual looks complicated. You worry that doing it wrong could make things even worse, locking in errors instead of fixing them.
To properly calibrate a counting scale, first prepare a stable environment. Then, perform a zero calibration with an empty plate. Finally, use a certified standard weight to perform a span (or range) calibration. This process "teaches" the scale the correct reference points for accurate measurements.

As a manufacturer, we see a lot of scales sent back for service that just needed a proper calibration. The process is simple when you break it down into steps. Let's walk through the exact process our own quality control technicians use.
Step 1: Preparation is Key
Getting this step right solves most calibration problems before they start.
- Stable Environment: Place the scale on a solid, level surface. Make sure it's away from vibrations from machinery, foot traffic, or even air conditioning vents. The ideal temperature is around 20°C (68°F), with minimal fluctuation.
- Standard Weights: You must use a certified, known weight. For most industrial applications, an F1 or M1 class weight is sufficient. Using something you just think is the right weight, like a can of soup, will guarantee an incorrect calibration.
- Clean the Scale: Use a soft cloth and a little bit of rubbing alcohol to wipe down the weighing pan. Any debris, dust, or residue can throw off the reading.
Step 2: The Calibration Process
- Zero Point Calibration: Turn on the scale and let it warm up for about 15-30 minutes. With nothing on the pan, press the "Calibrate" or "Cal" key. The scale will perform a self-check and set its internal zero point. The display should read "0.00" and be stable.
- Span (Range) Calibration: The scale will then prompt you to place a specific weight on the pan (e.g., "100.00 g"). Place your certified 100g weight in the center of the pan. Wait for the reading to stabilize, then press the "Calibrate" key again. The scale will lock in that weight as its span reference. For best results, we recommend repeating the span calibration4 3 times.
- Linearity Calibration (for High-Precision Needs): If you need extreme accuracy across the scale's full capacity, you may need a linearity calibration. This involves using several different standard weights (e.g., 20g, 50g, 100g) to check the scale's accuracy at multiple points, not just one. This is usually done with special software.
What are the most common hardware failures that cause scale errors?
You've checked the environment and recalibrated the scale, but it's still inaccurate. Now you're starting to worry that it's a serious hardware problem, meaning downtime and repair costs.
The most common hardware failures are an aging load cell sensor, loose internal wiring connections, and physical wear on the scale's mechanical structure. Power supply fluctuations can also cause the display to show errors or behave erratically, which looks like a hardware failure.

Before you call for a replacement, it's helpful to understand what might be going on inside the machine. Many of these issues are things our technicians see every day. Identifying the symptom can point you directly to the cause and, often, a surprisingly simple solution. Here are the most common failures we encounter and how we fix them.
Common Faults and Our Solutions
| Fault Type | Possible Cause | Our Recommended Solution |
|---|---|---|
| Display Anomaly | The sensor (load cell) is aging; internal wires are loose; the power supply is unstable. | Replace the sensor if it has drifted too far. Re-seat all internal connections. Use a power conditioner or voltage stabilizer to provide clean power. |
| Repeatability Error | Mechanical parts are worn out; electronic components have drifted; major changes in temperature or humidity. | Replace any visibly worn mechanical parts. A technician can perform a temperature compensation calibration. Keep the scale in a climate-controlled area. |
| Calibration Failure | The wrong calibration parameters were entered; the sensor is damaged beyond repair; the standard weight used is incorrect or uncertified. | Consult the manual to re-enter the correct parameters. If that fails, the sensor likely needs to be replaced. Always use certified weights for calibration. |
Remember, a load cell is a mechanical device. It physically flexes every time you put weight on it. After millions of cycles, the metal can fatigue, and its electrical properties can change. This is what we mean by "sensor aging." It’s a normal part of the scale's life cycle.
What troubleshooting steps can fix an inaccurate counting scale?
You have a general idea of what might be wrong, but you need a clear action plan. Randomly trying different fixes can waste time and might even make the problem worse.
A systematic troubleshooting checklist can fix most inaccuracies. Start by checking the environment and cleaning the scale. Then, inspect connections, reset the zero point, and attempt a recalibration. If these steps fail, the issue is likely a hardware fault that requires professional service.

When a client calls us for support, we walk them through a logical sequence of steps. This process helps isolate the problem quickly and efficiently. You can do the same thing yourself. Follow this checklist to diagnose and often fix the issue without needing to call for help.
Your Quick Troubleshooting Checklist
- Check the Environment: Is the scale on a perfectly level surface? Use a small bubble level to check. Are there any nearby machines causing vibrations? Is it under an air vent? Eliminate all external forces first. This is the #1 cause of sudden inaccuracies.
- Clean the Scale: Power down the scale. Use a soft cloth to clean the weighing pan and, importantly, the area underneath and around it. A tiny piece of debris stuck in the mechanism can cause major errors.
- Inspect All Connections: Make sure the power cord is firmly plugged in at both ends. If you are comfortable doing so, and the warranty allows, open the housing and gently check that all internal wire connectors are seated firmly on the circuit board. A loose wire is a common culprit.
- Perform a Zero Reset: Power on the scale and let it warm up. With the pan empty, press the "Zero" or "Tare" button. Does the display show a stable "0"? If it drifts, you know you have an issue with the sensor or electronics.
- Attempt Recalibration: Carefully follow the calibration process we detailed earlier using certified weights. If the scale displays a "Cal Error" or fails to complete the process, you have confirmed a deeper hardware problem.
- Review Its History: When was the scale last professionally serviced? We advise our clients to keep a simple maintenance log5. A good schedule is:
- Weekly: Clean the scale surface.
- Monthly: Check connections and levelness.
- Quarterly: Perform a user calibration with a standard weight.
- Annually: Have the scale professionally serviced and calibrated by a certified technician.
Conclusion
Fixing counting scale inaccuracies is usually very manageable. Start with the environment, follow a proper calibration process, and perform regular maintenance. This discipline ensures consistent accuracy and protects your bottom line.
-
Understanding APW is crucial for accurate counting and inventory management. ↩
-
Understanding load cells is key to diagnosing and fixing scale issues. ↩
-
Understanding calibration drift can help you maintain consistent scale performance. ↩
-
Learn the importance of span calibration in ensuring your scale's accuracy. ↩
-
Keeping a maintenance log ensures your scale remains accurate and reliable over time. ↩


Comments (0)