Your business relies on accurate measurements, but how can you be sure your scales are correct? Faulty readings cause waste and erode profits, but professional calibration services seem inconvenient and expensive.
To easily test your scale, you can check its repeatability and linearity. Repeatability is tested by weighing the same object multiple times to check for consistency. Linearity is tested by weighing several different known weights to ensure accuracy across the scale's entire capacity.
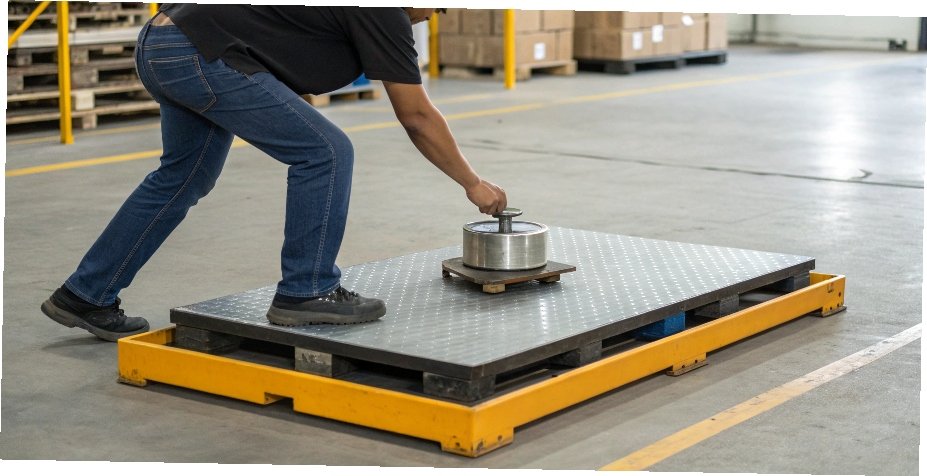
These two tests sound technical, but they are surprisingly simple to perform right in your own facility. They are the quickest way to get a health check on your most critical equipment. As an industrial scale manufacturer1 with over 18 years of experience, I've guided countless clients through this exact process. Let me walk you through the simple steps to verify your scale's performance and ensure you can trust your data.
How to test a scale's accuracy?
You suspect your scale isn't accurate, and this doubt creates errors in your data and product quality. This uncertainty can disrupt production, creating a need for a reliable verification method.
To test a scale's basic accuracy, perform a repeatability test. Place a single, known standard weight on the center of the scale multiple times, recording each reading. The consistency of these readings is a primary indicator of the scale's reliability and overall health.

Breaking Down the Repeatability Test
The repeatability test2 is the foundation of verifying accuracy3. It doesn't tell you if the scale is correct across its whole range, but it does tell you if it's consistent. In my experience, a scale that lacks repeatability is a scale that cannot be trusted for any application. Here is how we break it down for our clients.
First, prepare your environment. This is more important than most people realize. The scale must be on a solid, level surface free from any vibrations. Nearby heavy machinery, or even a shaky floor, can introduce errors. Also, ensure there are no air drafts from fans or air conditioning, as this can affect sensitive readings.
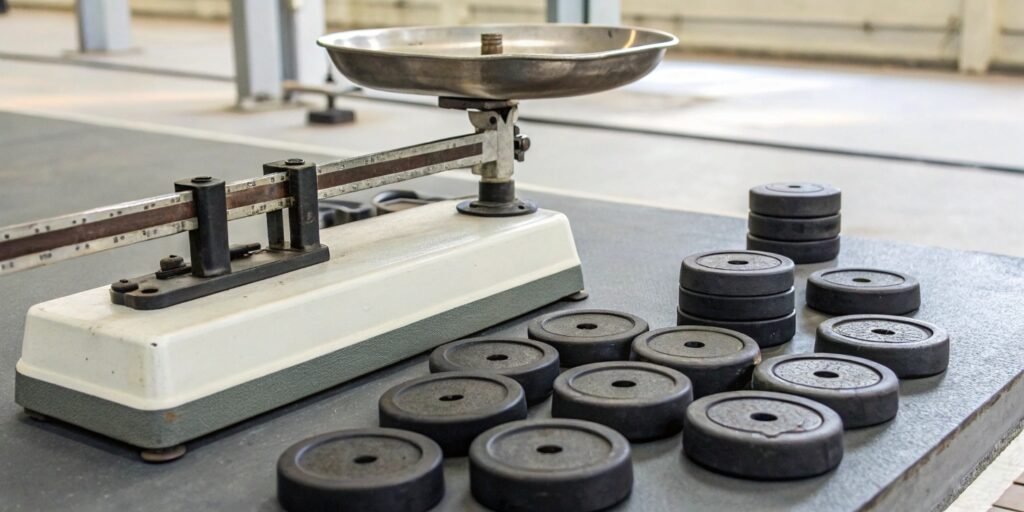
Next, choose a standard weight. Ideally, this should be a certified calibration weight4 that is around 50% to 70% of your scale's maximum capacity. This range typically represents the most common usage area for a scale.
| Step | Action | Why It's Important |
|---|---|---|
| 1 | Turn on the scale. | Allow it 15-30 minutes to warm up and stabilize with the room temperature. |
| 2 | Zero the scale. | Press the ZERO or TARE button to ensure a correct starting point. |
| 3 | Place the weight. | Gently place the standard weight in the center of the scale platform. |
| 4 | Record the reading. | Wait for the reading to stabilize completely, then write it down. |
| 5 | Repeat 5-10 times. | Remove the weight, re-zero the scale, and repeat the process to get a good data set. |
Once you have your readings, find the difference between the highest and lowest values. This is your repeatability error. For example, if your readings are 99.8g, 100.1g, 99.9g, 100.0g, and 99.7g, the difference is 0.4g (100.1g - 99.7g). A smaller difference means better repeatability.
How do I make sure my digital scale is accurate?
Your scale gives consistent readings for one weight, but what about others? Inaccuracies with different loads can cause major issues in batching or shipping, directly impacting your costs and quality.
To ensure accuracy across the full range, you need to perform a linearity test. This involves checking the scale’s performance at several points—for example, at 20%, 50%, and 80% of its capacity—to confirm its readings remain true and predictable for any weight.
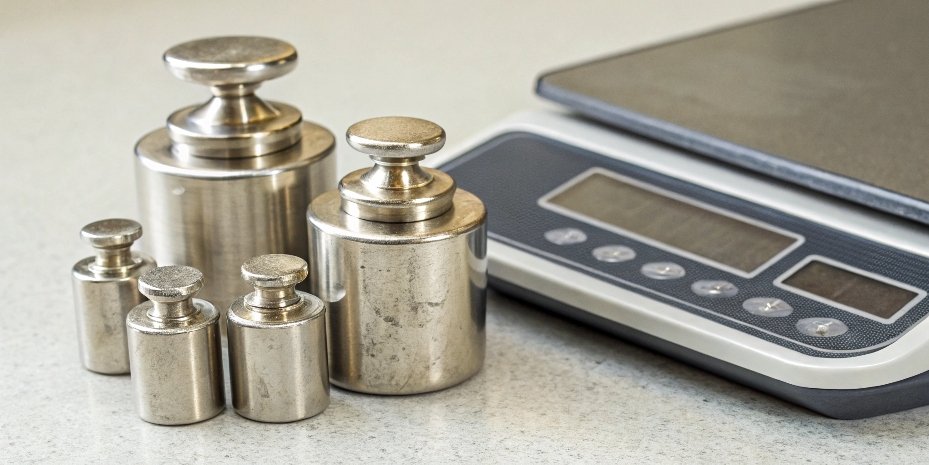
Understanding and Testing for Linearity
Linearity is a measure of how accurate your scale is over its entire weighing range. A perfectly linear scale would be like drawing a perfectly straight line from zero to its maximum capacity, with every reading falling exactly on that line. In reality, all scales have some deviation. Our goal as manufacturers is to keep that deviation incredibly small. Testing for it is straightforward.
You will need at least three standard weights. A good practice is to use weights that represent the low, middle, and high end of your scale's capacity, such as 20%, 50%, and 80%.
| Step | Action | Expected Result |
|---|---|---|
| 1 | Zero the scale. | The display should read exactly 0.00. |
| 2 | Place the 20% weight. | Record the reading. It should be very close to the standard weight's actual value. |
| 3 | Remove, zero, and repeat. | Do the same for the 50% weight, recording the reading. |
| 4 | Final check. | Repeat the process for the 80% weight. |
Now, analyze the results. For each point, calculate the error. For example, if you place a 50kg standard weight on a scale and it reads 50.1kg, the error is +0.1kg. A common industry standard is that the error should not exceed ±0.5% of the full scale (FS) capacity. So, for a 100kg scale, the acceptable error at any point would be within ±0.5kg. If the errors at all your test points fall within this tolerance, your scale has good linearity5. For software vendors integrating with our hardware, understanding this concept is vital for ensuring the data you receive is reliable from 1kg all the way to 100kg.
How do I know which scale is more accurate?
You are comparing two different scales, but they give you slightly different readings for the same object. Choosing the wrong one means investing in equipment that could undermine your operations from day one.
To know which scale is more accurate, you must test and compare both for repeatability and linearity. The superior scale will show a smaller variance in the repeatability test and consistently smaller errors across the entire range in the linearity test.
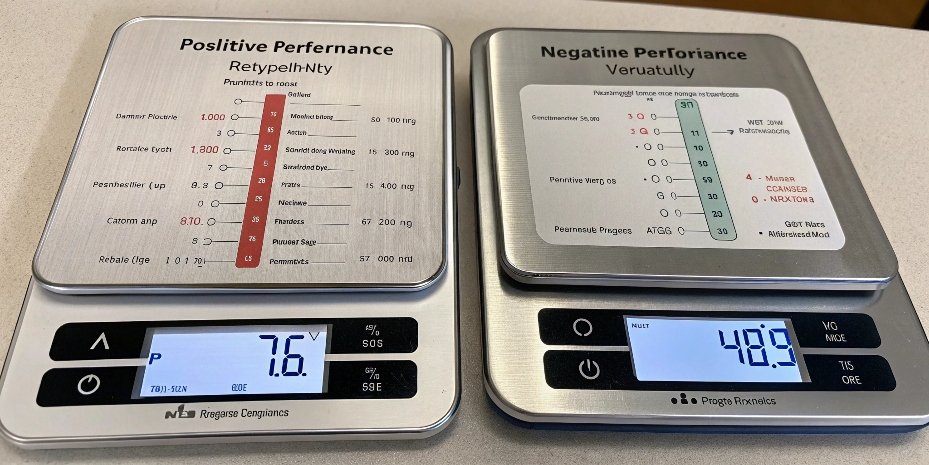
A Side-by-Side Accuracy Showdown
When you need to make a purchasing decision, putting scales to a direct test removes all guesswork. As a supplier, we encourage our clients to do this because it demonstrates the quality we build into our products. Here’s how you can make an objective comparison.
First, run the repeatability test on both scales using the exact same standard weight. I recently helped a client decide between one of our industrial scales and a competitor's model. We used a 50kg test weight. Our scale's readings were all within a 0.01kg range. The other scale varied by over 0.05kg. Over thousands of production cycles, that five-fold difference in consistency adds up to significant material loss or gain.
Next, perform the linearity test on both. The more accurate scale will have readings that are consistently closer to the true weight value at every test point (20%, 50%, 80%). It's common for a lower-quality scale to be accurate at one point but have a large error at another.
Finally, look beyond just the test numbers and consider these factors:
| Feature | Scale A (Lower Quality) | Scale B (Higher Quality) | Which is Better? |
|---|---|---|---|
| Resolution | 0.01kg | 0.01kg | Looks the same, but isn't. |
| Repeatability Error | 0.05kg | 0.01kg | Scale B is more consistent. |
| Max Linearity Error | 0.8% of Full Scale | 0.2% of Full Scale | Scale B is more accurate. |
| Certifications | None | CE, OIML | Scale B is verified by a third party. |
As you can see, resolution6 (the number of decimal places) is not the same as accuracy3. Scale B is the clear winner because its performance is more consistent, more accurate across its range, and its quality is backed by international certifications. This is the kind of reliable partner you need for your software systems.
How can you improve the accuracy of an electronic scale before and during measurement?
You've tested your scale and discovered some minor inaccuracies that are affecting your results. Ignoring these small issues can lead to bigger problems, but you need to maximize the precision you can get.
Before measuring, always calibrate the scale according to the user manual. During measurement, improve precision by ensuring the scale is perfectly level on a stable surface, free from vibrations and air drafts, and has had time to warm up.
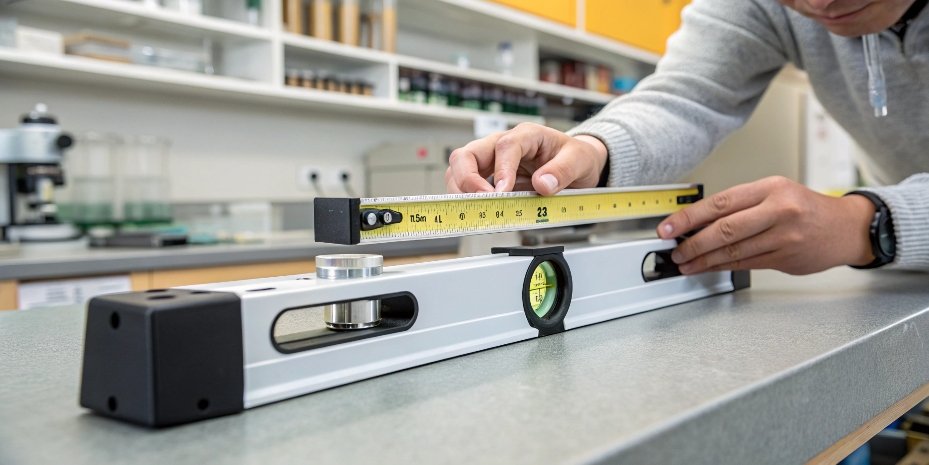
Pre-Measurement Checks for Maximum Precision
With 18 years of manufacturing experience, the one piece of advice I give more than any other is this: a scale is only as good as its setup and calibration. You can dramatically improve measurement precision7 by following a few simple best practices before you even place an object on the platform.
Calibration should be your first step. This process adjusts the scale's internal programming to match a known standard weight, correcting for any electronic or mechanical drift that has occurred over time. Always follow the specific instructions in your scale's manual. A scale that isn't calibrated is just giving you a guess, not a measurement.
Next, focus on the environment. It matters more than you think.
- Level Surface: Use a small spirit level to confirm the scale is perfectly flat. An unlevel surface puts uneven stress on the load cell, which is the sensor that measures weight, causing errors.
- No Vibrations: Move the scale away from heavy machinery, slamming doors, and even areas with heavy foot traffic.
- No Airflow: An air conditioning vent or an open window can create enough air pressure to affect sensitive measurements.
- Temperature Stability: Allow the scale 15-30 minutes to acclimate to the room's temperature before calibrating or using it. Electronic components perform differently when cold versus warm.
Finally, during the actual measurement, always place the object in the center of the platform for the most reliable reading. Wait for the stability indicator on the display before recording the value, and be sure to press the TARE or ZERO button to reset the scale before each new, independent measurement. These simple habits ensure you get the best possible precision out of your equipment.
Conclusion
Regularly performing simple repeatability and linearity tests empowers you to verify your scale's health. Proper setup, a stable environment, and routine calibration are the keys to trustworthy and accurate measurements.
-
Find out what qualities make a reliable industrial scale manufacturer. ↩
-
Get step-by-step guidance on conducting a repeatability test for your scales. ↩
-
Discover methods to maintain and verify the accuracy of your digital scales. ↩ ↩
-
Learn why certified calibration weights are essential for accurate scale testing. ↩
-
Testing linearity helps confirm that your scale provides accurate readings across its entire capacity. ↩
-
Discover how resolution impacts the accuracy and reliability of scale readings. ↩
-
Find tips to enhance the precision of your scale measurements. ↩



Comments (0)