Struggling with inconsistent scale readings that cost you money? These errors add up quickly. Understanding linearity and calibration is the first step to achieving precise, reliable measurements every single time.
Mastering scale accuracy means focusing on two core ideas. Linearity ensures the scale is accurate across its entire weighing range. Calibration adjusts the scale to match a known standard weight. Together, they guarantee the precision you need for your operations and quality control.

You now understand that both linearity1 and calibration are vital for accurate weighing. But it's important to dig deeper to see how they really work together to give you the results you can trust. Let's break down how each one contributes to the overall accuracy of your valuable equipment.
How do linearity and calibration both contribute to overall scale accuracy?
Is your scale accurate at 1kg but off at 10kg? This inconsistency compromises your entire quality control process. The solution lies in how linearity and calibration work together as a team.
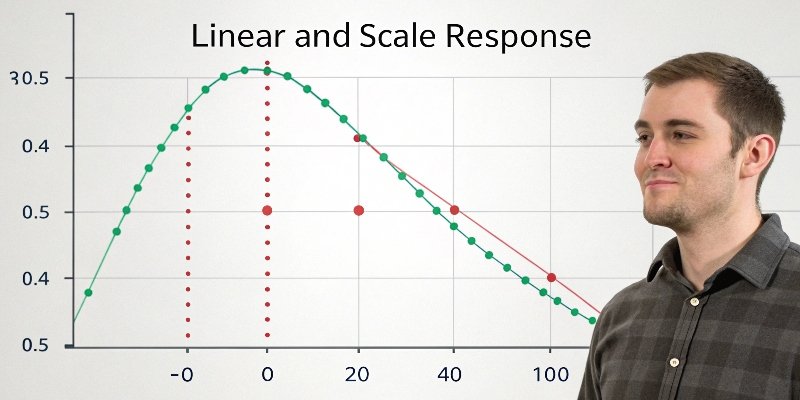
Calibration sets the scale's accuracy at specific points, like zero and full capacity. Linearity ensures the scale remains accurate between those calibrated points. Think of calibration as setting the start and end of a trip, while linearity makes sure the road between them is straight.
True accuracy is a result of more than just a single adjustment. It's a combination of different factors working in harmony. At Weigherps, we spend a lot of time educating our clients on this because it prevents costly mistakes down the line. It's not just about one thing, but how a few key elements support each other.
Calibration as the Foundation
Think of calibration as the cornerstone of accuracy. When we calibrate a scale, we're essentially teaching it, "This specific object is exactly 10 kilograms." This process uses a certified, known weight to adjust the scale's internal settings. It anchors the measurement at that single point. However, this alone doesn't guarantee accuracy if you need to weigh something that is 3kg or 8kg. It only confirms that the scale is correct at the calibration2 point. It's a critical first step, but it's not the complete story.
Linearity for Consistent Performance
This is where linearity comes in. If calibration sets the anchor points, linearity ensures the scale measures correctly at every point in between. A scale with good linearity will show a proportional response3 as weight is added. If it's correct at 10kg, it will also be correct at 2kg, 5kg, and 7kg. The table below shows how they differ but are equally important.
| Feature | Calibration | Linearity |
|---|---|---|
| Purpose | To adjust the scale to a known standard. | To check accuracy across the entire range. |
| Process | Compares scale reading to a standard weight. | Measures several points across the scale's capacity. |
| Result | Sets a correct reference point for measurement. | Ensures proportional accuracy from zero to max. |
Why is linearity a critical but often overlooked aspect of scale performance?
Do you calibrate your scales regularly but still get inconsistent readings? This frustrating issue can undermine trust in your data. The problem might not be your calibration routine, but rather an overlooked linearity error.
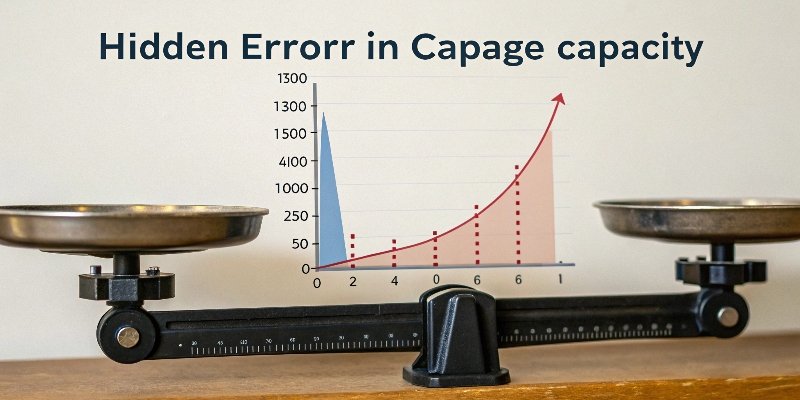
Linearity is often overlooked because a simple two-point calibration (at zero and full capacity) doesn't test for it. A scale can be perfectly calibrated at both ends but still be inaccurate in the middle. This non-linearity is a hidden source of costly measurement mistakes.
After 18 years in this industry, I have seen many companies chase down quality control4 issues, only to find the root cause was a scale they thought was perfectly fine. They were diligent about calibration but never considered linearity. This is a common blind spot that can have a significant impact on production quality and material costs. Understanding why this happens can save you a lot of time and resources.
The "Good Enough" Calibration Trap
Many users fall into a trap. They perform a simple span calibration using a single weight and assume their scale is accurate. This process gives a false sense of security. While it confirms the scale reads correctly at that one point, it tells you nothing about the scale's performance with different loads. This is especially dangerous in applications where you weigh various ingredients for a formula. Relying solely on basic calibration is like checking the first and last page of a book and assuming the whole story is correct.
Real-World Consequences of Non-Linearity
Imagine you are mixing a batch of product that requires 100g of ingredient A and 800g of ingredient B. Your scale has a 1000g capacity and was calibrated using a 1000g weight. The scale might measure the 1000g weight perfectly. However, due to poor linearity, it could have an error of 5% in the middle of its range. This means your 800g measurement could be off by 40g. This single error ruins the ratio, wastes materials, and produces a faulty batch. These a re the kinds of quiet, costly errors that non-linearity causes every day. That's why we build our scales with high-quality sensors to ensure excellent linearity from day one.
What is the correct procedure for calibrating a scale to ensure accurate measurements?
Are you unsure if your calibration process is actually correct? A flawed procedure is just as bad as not calibrating at all, giving you a false sense of accuracy. Following a few key steps will guarantee reliable results.
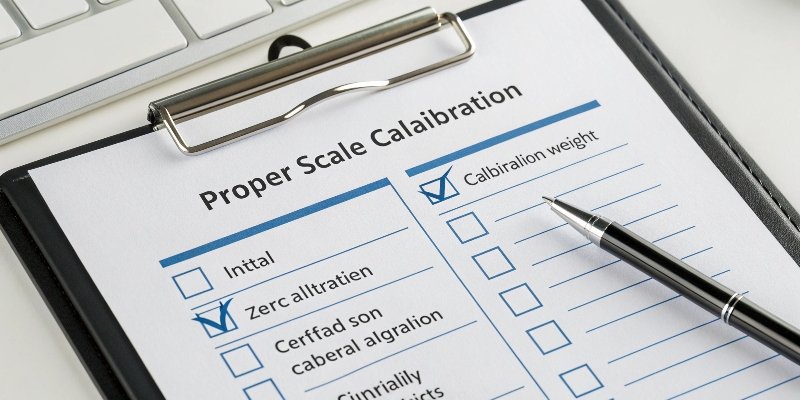
The correct procedure involves three main steps. First, perform a zero calibration to set the baseline with no load. Second, conduct a span calibration with a certified weight near the scale's capacity. Finally, document the results and verify the accuracy for traceability.
A correct calibration procedure is non-negotiable for anyone who relies on accurate weight data. It's a fundamental part of quality assurance and, in many industries, a compliance requirement. Over the years, we've helped countless clients establish simple yet effective calibration routines that stand up to any audit. The process is straightforward if you focus on the right details from the start.
Pre-Calibration Checks
Before you even touch a calibration weight, it is critical to check the scale's environment. Is it placed on a stable, level surface, free from any vibrations? Are there air currents from vents or open doors that could affect the reading? The ambient temperature should be stable, ideally between 18-25°C. As a manufacturer, we can't stress this enough. A perfect scale will give you bad data in a poor environment. Taking a minute to check these conditions is the first step to a successful calibration.
The Step-by-Step Calibration Process
Once the environment is confirmed to be stable, you can begin the actual calibration. The process is simple and systematic.
- Zero Calibration: First, make sure the weighing pan is clean and empty. Then, press the 'Zero' or 'Tare' button. This step ensures that your measurements start from a true zero point.
- Span Calibration: Next, place a certified, known weight on the scale. We usually recommend using a weight that is at least 50% of the scale's maximum capacity. Enter the scale's calibration mode and follow the on-screen instructions to adjust the reading to match the standard weight.
- Documentation: Finally, record everything. Note the date, time, the standard weight used, and the result of the calibration. This log is crucial for quality control and provides the traceability5 required by auditors.
How can you perform a linearity test to diagnose and correct weighing errors?
Do you suspect your scale has a hidden error somewhere in its weighing range? This uncertainty can compromise every measurement you take daily. A simple linearity test is the best way to diagnose the problem.
To perform a linearity test, you check the scale's accuracy at several points across its capacity. Start with a zero check, then use certified weights to test at intervals like 25%, 50%, 75%, and 100% of the range. Any deviation reveals a linearity error.

Performing a linearity test6 is one of the most powerful diagnostic tools you have. It moves beyond basic calibration to give you a complete picture of your scale's performance. It’s a practice we recommend to all our clients, especially those in industries where precision is everything. Once you know how to do it, it becomes a quick and easy part of your regular maintenance routine.
Performing the Test: A Practical Guide
The test is methodical and requires a set of certified weights7. Here is a simple guide to follow:
- Prepare: Gather certified weights that cover several points in your scale's range. It is also important to let the scale warm up as recommended by the manufacturer.
- Zero the Scale: Ensure the scale is showing a perfect zero before you begin.
- Test in Increments: Place the first weight (e.g., 25% of capacity) on the scale and record the reading.
- Return to Zero: Remove the weight and make sure the scale returns to zero. If not, re-zero it.
- Repeat: Continue this process with your other weights (e.g., 50%, 75%, 100%) until you have tested the full range. Compare each reading to the certified weight's actual value. The difference is the linearity error.
Interpreting the Results
Once you have your data, you can analyze it to understand your scale's performance. A simple table can help visualize any problems.
| Standard Weight | Scale Reading | Error | Within Tolerance? |
|---|---|---|---|
| 250g | 250.1g | +0.1g | Yes |
| 500g | 501.5g | +1.5g | No |
| 750g | 750.2g | +0.2g | Yes |
| 1000g | 1000.0g | 0.0g | Yes |
In this example, the test reveals a significant error around the 500g mark. If a linearity error is outside your acceptable tolerance, the scale likely needs professional service or adjustment.
Conclusion
In summary, mastering scale accuracy requires focusing on both proper calibration and consistent linearity. This ensures your measurements are reliable across the entire weighing range, protecting your quality and profits.
-
Understanding linearity is crucial for accurate measurements; this link provides in-depth insights. ↩
-
Discover why calibration is vital for precision in weighing and how to implement it effectively. ↩
-
Explore the concept of proportional response and its importance for accurate measurements. ↩
-
Learn how accurate scales enhance quality control processes and prevent costly errors. ↩
-
This resource highlights the significance of traceability in maintaining calibration records. ↩
-
This guide provides practical steps for performing a linearity test to diagnose scale errors. ↩
-
This resource explains the significance of certified weights in achieving accurate measurements. ↩



Comments (0)