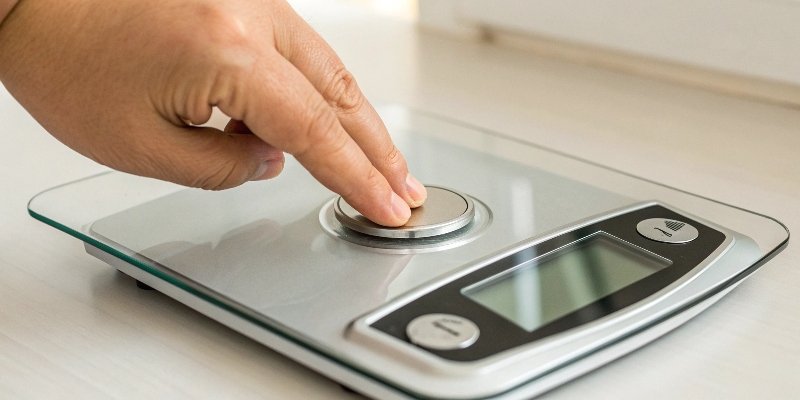
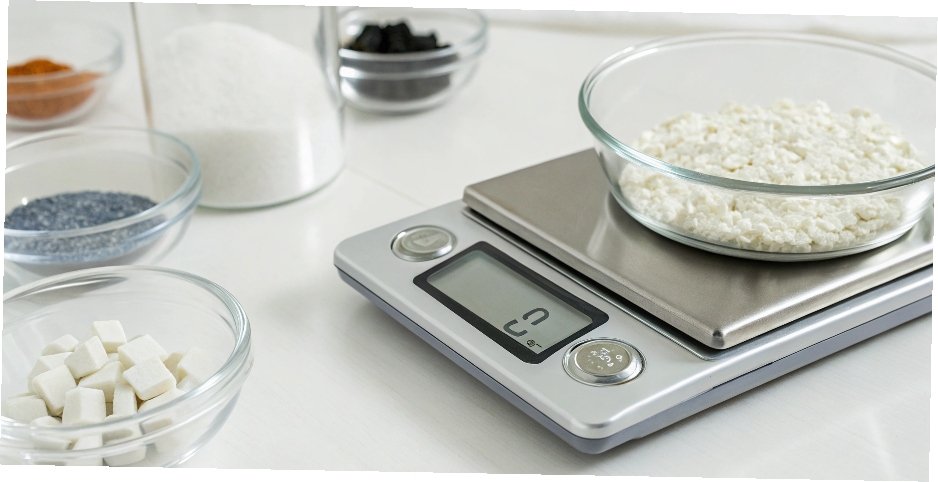
Your balance reading is off, causing inaccurate measurements and wasted materials. This costs time and money. The simple fix is knowing exactly when to press the "Zero" button.
You should zero high-precision lab balances (0.01mg-0.1mg) before every use after a 30-minute warm-up. For general use scales (0.001g), zero weekly. For industrial scales (0.01g), zero monthly, typically before calibration.

Getting the zero point right is the first step to accurate weighing. I've been in this business for 18 years, and I've seen how this simple step can prevent huge problems down the line. But the frequency isn't the only thing that matters. Knowing how to handle different weighing situations is just as important. Let's explore some common scenarios to make your weighing process flawless.
How can I use the tare function effectively when weighing multiple samples?
You're weighing multiple ingredients into one container. Doing the math in your head is slow and leads to mistakes. Use the tare function to make things simple and accurate.
Place your container on the scale and press "Tare" to zero the display. Add your first sample, note its weight, then press "Tare" again. The display will return to zero, ready for the next sample's net weight.

The tare function is one of the most useful features on any modern scale. I remember working with a client in the food processing industry. They were manually subtracting container weights for their spice blends, and batch consistency1 was a constant issue. We showed them how to use the tare function for sequential weighing, and it completely changed their workflow. It’s all about working smarter, not harder.
Step-by-Step Taring for Batches
Using the tare function for multiple additions is simple. It eliminates manual calculations and reduces the chance of human error. It creates a clean, efficient process for recipe formulation2 or batching.
- Place the empty container on the scale's pan.
- Press the "Tare" button. The display will show 0.
- Add your first ingredient until you reach the desired weight. Record this weight.
- Press "Tare" again. The display will return to 0, ignoring the container and the first ingredient.
- Add the second ingredient and repeat the process.
Zero vs. Tare: The Key Difference
Many people use these terms interchangeably, but they have distinct functions. Understanding the difference is crucial for accuracy.
- Zero: This function sets the absolute zero point of the scale. You should only use it when the weighing pan is completely empty. It tells the scale, "This empty state is our true baseline."
- Tare: This function creates a temporary or relative zero point. It's used to ignore the weight of a container or previously weighed items. It essentially subtracts the current weight on the pan from subsequent readings.
If my scale doesn't read zero when empty, should I press Zero or Tare first?
The scale is empty, but the display shows a small value. You're not sure which button to press, fearing a mistake. This pause can disrupt your workflow and cause doubt.
Always press the "Zero" button when the scale is empty and doesn't read zero. The "Zero" function re-establishes the true zero point for an empty pan. The "Tare" function is for negating a container's weight.

This is a common point of confusion, but the rule is simple and absolute. Using the "Tare" button on an empty, drifting scale is a bad habit. It doesn't fix the underlying issue; it just puts a temporary patch on it. In our production facility, training new technicians on this distinction is day-one material. Proper procedure prevents compounding errors.
Why "Zero" is the Correct Choice
The "Zero" button recalibrates the electronic signal from the load cell3 to represent a true zero mass. This is the correct starting point for any weighing task. If you press "Tare" instead, you are simply creating an offset. This offset can be accidentally cleared, or it might not be stored if the scale powers down. This leads to inconsistent and unreliable measurements. Always start with a true zero on an empty pan. It is the foundation of every accurate weight that follows.
When to Check Your Zero Point
For high-precision analytical balances, the zero point is critical. Before you start, check that the display is stable.
- The empty display value should be within the manufacturer's tolerance, often ±0.0005g for very sensitive models.
- If it has drifted, first make sure the draft shield4 is closed and there are no vibrations on the table.
- Then, press "Zero" to reset the baseline. If you find the zero point is drifting frequently, it's a sign that the scale may need recalibration or a check-up.
What's special about the OHAUS balance mentioned in the article?
You hear about big-name brands like OHAUS and wonder what makes them different. You might ask if their features are unique or if you are just paying for the well-known name.
OHAUS is a respected brand known for features like internal calibration and user-friendly software. However, as an OEM/ODM manufacturer, we focus on the core technology. Many scales offer similar performance without the premium brand price.

Over my 18 years of manufacturing scales, I've seen countless brands up close. Big names like OHAUS build a strong reputation by investing in marketing and specific patented features. They make excellent products. But what a software vendor or purchasing manager really needs is reliability, accuracy, and strong support. The hidden secret of the industry is that the core components—the load cell, the processor, the software logic—are often what truly determine a scale's quality.
Understanding Brand Features
Established brands often pioneer certain technologies that become their trademark. For OHAUS, this might be their AutoCal™ internal calibration system or specific application modes built into their software. These features are great and provide real value to some users. They simplify processes and can improve workflow efficiency. When you are buying from a major brand, you are paying for this R&D, their global distribution network, and their brand marketing. It's a complete package that offers a certain level of assurance.
The Manufacturer's Perspective
As a company that builds weighing equipment for other global brands, our focus is on the fundamentals. The heart of any scale is its sensor and electronics. We concentrate on sourcing high-stability load cells5 and writing robust, secure firmware. We provide our clients with customized solutions that meet their specific market needs. This often means they get a product with the same performance and reliability as a top-tier brand but tailored to their requirements and at a better price point. The real value is in the quality of the core engineering, not just the logo on the front.
Besides dirt and rust, what else can affect a scale's "true zero"?
You keep your scale clean, but the zero point still drifts. It's frustrating when you can't find the source of the inaccuracy. Invisible forces could be ruining your measurements.
Environmental factors heavily affect a scale's zero point. Temperature fluctuations greater than ±2°C per hour, air currents, vibrations from nearby equipment, and even static electricity can cause the reading to drift.

A high-precision scale is an incredibly sensitive instrument. I've walked into labs where clients complained about "faulty" scales, only to find the unit sitting directly under an air conditioning vent. The scale wasn't broken; its environment was unstable. Thinking about these external factors is just as important as the regular maintenance of the device itself. A stable environment is key to stable and repeatable results.
Environmental Instability
The surrounding environment is the number one cause of zero-point drift.
- Temperature: The metal and electronic components inside a scale expand and contract with temperature changes. A change of more than ±2°C per hour can be enough to throw off the zero point. Allow the scale to acclimate to the room temperature and re-zero it if the room's AC or heat kicks on.
- Air Drafts: Even a slight breeze from an open door, a ventilation system, or someone walking by can exert force on the weighing pan. This is why high-precision balances have draft shields. Always keep them closed during measurement.
- Vibrations: A scale can pick up vibrations from the floor or table. This can come from heavy machinery, centrifuges, or even heavy foot traffic nearby. An anti-vibration table is the best solution for highly sensitive applications.
Operational Factors
How you set up and use the scale also plays a major role.
- Leveling: All scales must be perfectly level to weigh correctly. There is a small bubble level indicator for this. Before weighing, always check to make sure the bubble is in the center. Adjust the scale's feet if it is not.
- Moving the Scale: If you move a scale, even just sliding it across the bench, you must re-level and re-zero it. Its internal components will have shifted slightly.
- Sensor Drift: If you've controlled for all the above factors and the zero point drifts frequently, it could indicate a problem with the load cell. This can sometimes be caused by moisture getting inside the housing or simple aging of the component. This is when service is required.
Conclusion
Zeroing frequency depends on your scale’s precision and its environment. Understanding the difference between Zero and Tare and controlling external factors will ensure you get reliable measurements every time.
-
Learn how precise weighing techniques can enhance batch consistency in production processes. ↩
-
Discover how precise weighing can lead to better consistency and quality in recipe formulation. ↩
-
Gain insights into load cells, the heart of weighing scales, and their role in measurement accuracy. ↩
-
Understand how a draft shield can protect your measurements from environmental disturbances. ↩
-
Learn about high-stability load cells and how they contribute to accurate and reliable measurements. ↩


Comments (0)