Are you struggling to define the correct tolerance for your weighing equipment? Getting it wrong can lead to failed audits and product rejects, making a simple setting a high-stakes decision.
Yes, there are clear standards. Allowable tolerance is primarily set based on the scale’s verification scale division (e) and national or international standards like JJG1036-2008. The acceptable error limit changes at different points of the scale's weighing range, ensuring accuracy across its entire capacity.
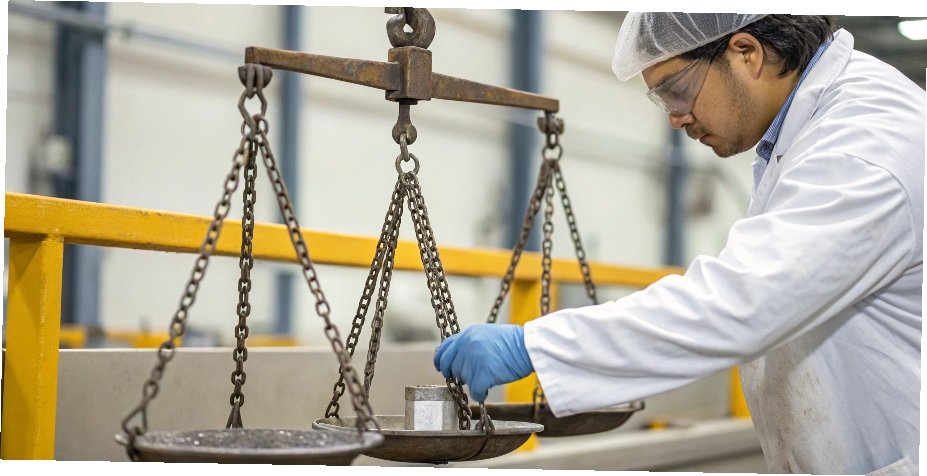
Setting the right tolerance seems simple, but it’s a critical decision that directly impacts your operational efficiency and product quality. Over my 18 years in this industry, I've seen how a misunderstanding of tolerance can create significant problems down the line. It's not just about hitting a number; it's about understanding the principles behind that number. Let’s break down the key factors you need to consider to get it right every time.
What are the key factors to consider when setting engineering tolerances?
Choosing the right tolerance can feel like guesswork. If you guess wrong, you might compromise product function or inflate your production costs without any real benefit. It all comes down to focusing on the right factors.
The most critical factors are national standards, industry-specific regulations, and the scale’s verification scale division (e). For example, China's JJG1036-2008 provides a baseline, while industries like pharmaceuticals follow stricter GMP guidelines that demand higher precision.
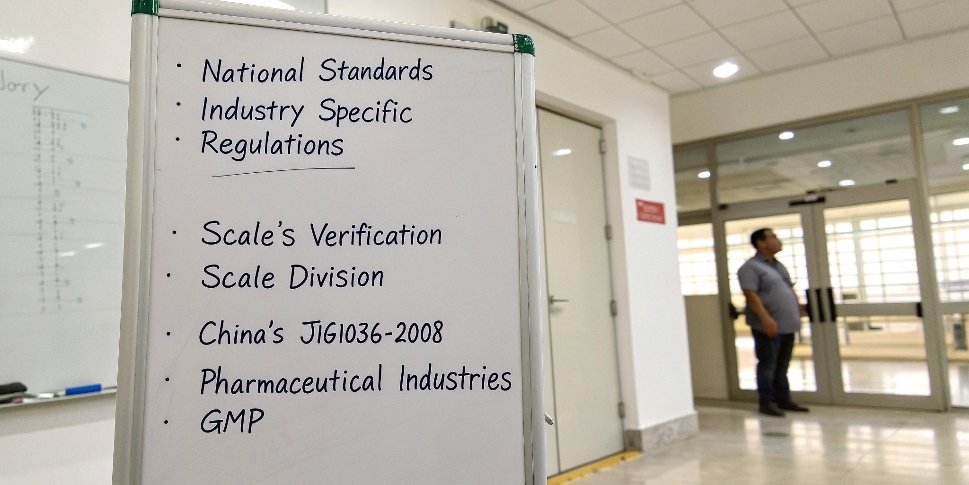
When we help a client choose a weighing solution, we always start with these core factors. They form the foundation for all other decisions. A scale on a factory floor has different requirements than one in a lab. We need to be precise about what "accuracy" means for each specific application. Here’s how these factors break down:
National Standards
Most countries have legal metrology standards that define allowable error. In China, we use JJG1036-20081 for digital scales. This standard ties the maximum permissible error directly to the verification scale division (e)2.
- 0 to 500e: Maximum allowable error is ±0.5e.
- 500e to 2000e: Maximum allowable error is ±1e.
- Above 2000e: Maximum allowable error is ±1.5e.
For a 30kg scale with an e of 10g, this means the tolerance is ±5g for weights up to 5kg, ±10g for weights between 5kg and 20kg, and ±15g for weights above 20kg.
Industry-Specific Norms
Some industries have their own, often stricter, requirements. The pharmaceutical and food industries, for example, must comply with Good Manufacturing Practices (GMP)3. GMP often requires weighing accuracy to be within ±0.1% of the full scale (FS). If you're weighing 10g of an active ingredient, the scale must be accurate to ±0.01g, a far tighter tolerance than a standard industrial scale.
How does tolerance selection impact manufacturing costs and product quality?
You need high-quality products, but you also have a budget to manage. Choosing an overly tight tolerance can make manufacturing costs skyrocket, while a loose tolerance can destroy your product's reliability.
Tighter tolerances demand more precise machinery, higher-grade materials, and rigorous testing, which significantly increases manufacturing costs. Looser tolerances are cheaper to produce but may result in inconsistent performance, higher defect rates, and damage to your brand's reputation.
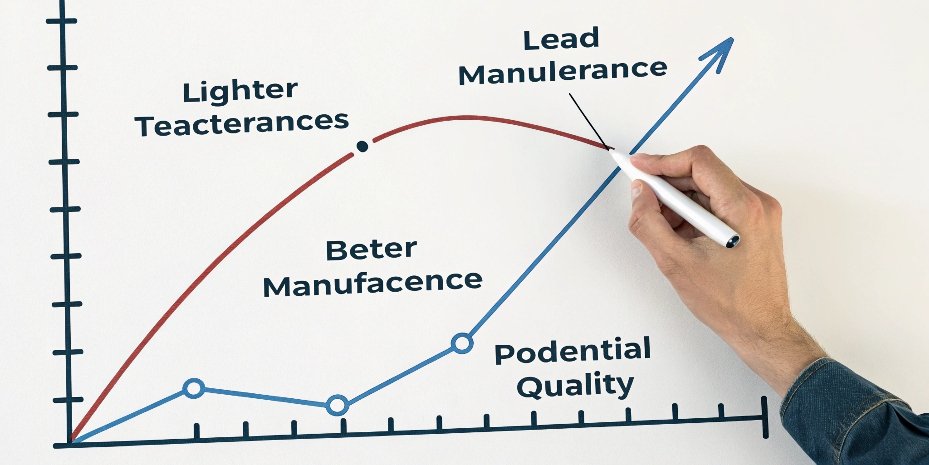
At Weigherps, we constantly balance these two forces. We understand that our clients, especially software vendors integrating our hardware, need reliability without an exorbitant price tag. This isn’t just a theoretical exercise; it has a direct impact on the final product's viability in the market. A few years ago, a client insisted on a tolerance that was ten times tighter than the industry standard required for their application. While we could achieve it, the cost of the specialized load cells and calibration process made the final product too expensive for their end-users. Finding the sweet spot is crucial.
Here’s a simple table to show the trade-offs:
| Tolerance Level | Impact on Quality | Impact on Cost |
|---|---|---|
| Tight Tolerance | High consistency, reliability, and performance. Low defect rates4. | High manufacturing cost, requires advanced equipment, longer inspection times. |
| Balanced Tolerance | Good, reliable performance that meets functional needs. Acceptable defect rates. | Moderate cost. An optimal balance for most industrial and commercial applications. |
| Loose Tolerance | Inconsistent performance, potential for functional failures, higher defect rates. | Low manufacturing cost, faster production, less need for advanced quality control. |
The goal is to select the tightest tolerance that the function requires, but no tighter. This ensures product quality and cost-effectiveness.
Are there universal standards for geometric dimensioning and tolerancing (GD&T)?
You're likely searching for a single, universal standard to simplify compliance. But applying a standard designed for mechanical parts to a weighing system can lead to confusion and errors.
While GD&T standards like ASME and ISO govern mechanical parts, weighing performance is guided by metrology organizations like OIML. National standards, such as China's JJG1036-2008, are based on these international recommendations, creating a globally understood framework for weighing accuracy.

It’s important to distinguish between different types of standards. GD&T is about the physical shape and size of components—critical for how parts fit together. However, for a scale's primary function—weighing—we look to a different set of standards.
The International Organization of Legal Metrology (OIML)5 sets recommendations that are adopted by countries all over the world. This creates a kind of "universal language" for weighing performance6. When our products receive CE certification7, it signifies compliance with European standards that are themselves harmonized with these international principles.
This hierarchy of standards is what allows global trade to function smoothly. As a manufacturer for global brands, we ensure our products meet these layered requirements. This means a scale we produce and calibrate in China will perform predictably for a software vendor in Europe or a retailer in North America. This reliability is something we build into every single product.
How do you balance functional requirements and process capability when defining tolerances?
You need a scale to perform a specific task precisely. But every manufacturing process and piece of equipment has its own physical limitations, creating a potential mismatch you need to solve.
You achieve this balance with a clear, step-by-step validation process. First, define the functional need. Then, verify the scale's capability by testing it with certified standard weights at key points of its measuring range to ensure it meets the requirement.
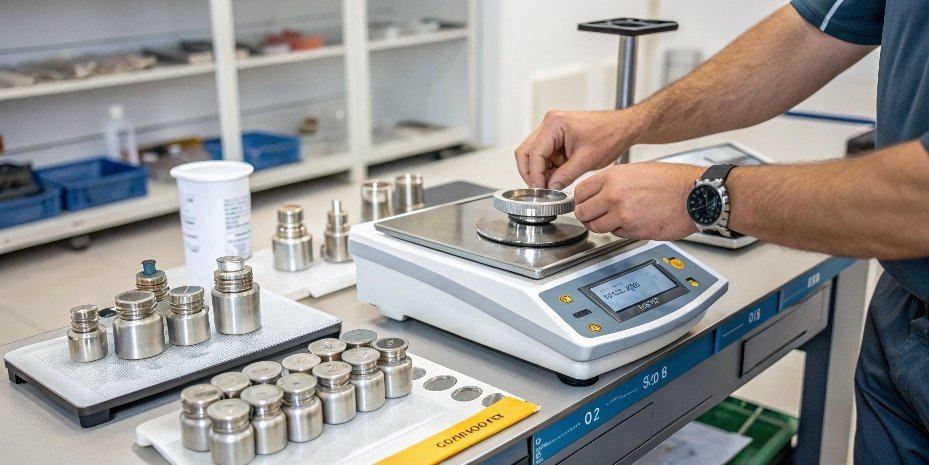
This is where theory meets practice. It's one thing to know the standard; it's another to apply it correctly. Here is the process we use and recommend to all our clients to ensure their scales are both capable and functional.
Step 1: Determine the Verification Scale Division (e)
This is the smallest unit your scale reliably displays, like 1g, 5g, or 10g. For example, for a 3kg kitchen scale that displays in 0.1g increments, e would be 0.1g. This value is the basis for all your tolerance calculations.
Step 2: Calculate the Allowable Error
Based on the standard, you can now calculate your tolerance. For a new 3kg scale with e=0.1g, the maximum allowable error at full capacity might be 2e, or ±0.2g. For a scale already in use, this might be relaxed to 4e, or ±0.4g. This calculation gives you a clear target.
Step 3: Calibrate and Verify
Using standard, certified calibration weights, you must test the scale. Place weights at different points of the measuring range (e.g., 20%, 50%, and 100% of capacity). The difference between the scale's displayed value and the standard weight's actual value is the error. This measured error must fall within your calculated allowable error from Step 2.
This practical approach ensures the scale's real-world performance (its capability) matches the job it needs to do (its functional requirement).
| Application Scenario | Recommended Allowable Error | Suggested Calibration Cycle |
|---|---|---|
| Home Kitchen Scale | ±0.5e (Standard Use) | Annually |
| Industrial Weighing | ±1e (Production Control) | Monthly or Quarterly |
| Pharmaceutical Lab | ±0.1% FS (GMP Requirement) | Quarterly or even weekly |
Conclusion
Setting the right tolerance is a structured process, not a guess. It requires understanding standards, balancing cost with quality, and following a clear verification method to ensure accuracy and compliance.
-
Explore JJG1036-2008 to understand the legal metrology standards for digital scales in China. ↩
-
Learn about verification scale division (e) to ensure your weighing equipment meets accuracy standards. ↩
-
GMP guidelines are essential for industries like pharmaceuticals to ensure product quality. ↩
-
Reducing defect rates is vital for maintaining product quality and brand reputation. ↩
-
Discover how OIML sets international recommendations for weighing performance. ↩
-
Explore the factors that influence weighing performance to enhance accuracy and reliability. ↩
-
CE certification signifies compliance with European standards, ensuring product reliability. ↩




[…] A supplier’s reliability7 can be judged by how well they understand and meet the standards for your specific application. If a supplier cannot provide documentation proving they meet pharmaceutical-grade8 standards, they are not a reliable partner for you. This includes certifications9 like Good Manufacturing Practices (GMP)10. […]