Buying a lab balance feels overwhelming, and the high prices are intimidating. Making the wrong choice means wasting a significant part of your budget on features you'll never use.
To choose a lab balance without overspending, first define your required accuracy and weighing capacity. Then, compare brands but be cautious of high premiums. Finally, skip optional features like automatic calibration if they are not essential for your work. This ensures you only pay for what you need.

Getting your balance selection right is one of the most critical purchasing decisions for any lab. In my 18 years as an industrial scale manufacturer, I've seen countless clients struggle with this. They either overspend on a device with unnecessary capabilities or underspend and get a balance that isn't accurate enough for their work. But finding that perfect middle ground is simpler than you might think. Let's walk through the process step-by-step to make sure you get the best value for your investment. It’s all about focusing on what truly matters for your specific applications.
How to choose an analytical balance?
Analytical balances are precise, but their cost can be a shock. Picking one with features you don't need inflates your budget, while skimping on precision could ruin your results.
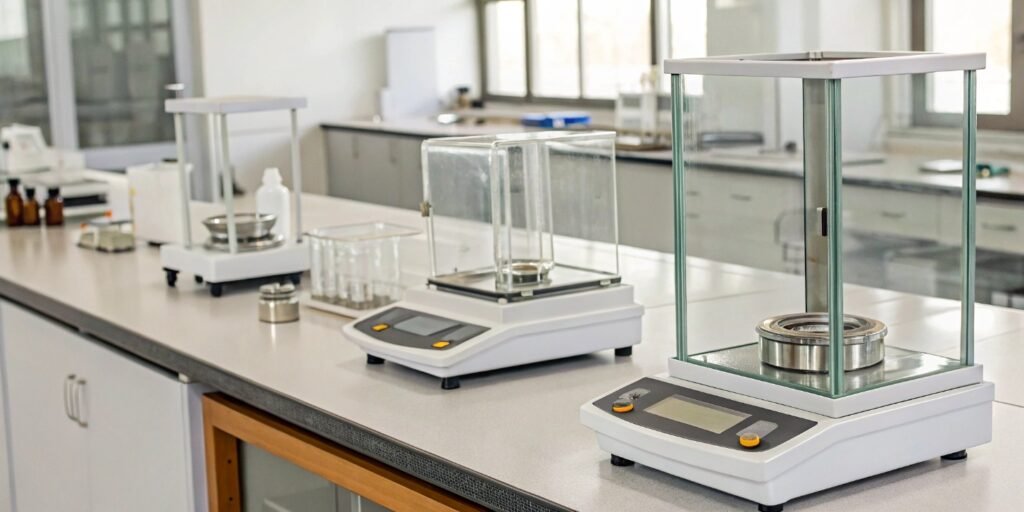
When choosing an analytical balance, focus on its readability (the number of decimal places) and capacity. A draft shield is essential for stability. Compare trusted brands, but be wary of paying for advanced functions you won't use. Your specific application's precision needs should always come first.

When helping clients select an analytical balance1, I always start with the same two questions: What is the smallest mass you need to measure accurately, and what is the heaviest? The answers guide your entire decision. Overspending often happens when labs buy more precision than they require.
Define Your Accuracy and Readability Needs
This is the single most important factor and has the biggest impact on price. The heart of the balance is its weighing sensor, and more sensitive sensors cost more. Readability refers to the smallest division the balance can display (e.g., 0.1mg or 0.0001g). If your chemical analysis2 requires four decimal places, a balance with 0.1mg readability is necessary. Don't pay for a semi-microbalance3 (0.01mg) if you don't need that fifth decimal place.
Consider the Weighing Range
The capacity is the maximum weight the balance can handle. Buying a balance with a 220g capacity when you only ever weigh samples under 50g is a waste of money. A lower-capacity balance with the same readability is often cheaper.
Evaluate Brands and Premium Features
Some well-known brands4 carry a significant price premium. As an OEM/ODM manufacturer, we produce high-quality components for many brands, so I know that excellent performance doesn't always require the most famous name. Look for features, but be practical.
| Feature | Description | Is it worth the extra cost? |
|---|---|---|
| Internal Automatic Calibration | The balance calibrates itself automatically. | Maybe. Very convenient, but manual calibration5 is easy and much cheaper. If your lab has strict SOPs requiring it, then yes. Otherwise, it's a luxury. |
| Density Determination Kit | Special attachments to measure a sample's density. | No. This is a specialized function. If it's not a core part of your daily work, you can skip it and save money. |
| Data Connectivity | USB, Ethernet, or RS-232 ports for data transfer. | Yes. In a modern lab, easy data transfer to a LIMS or spreadsheet is almost essential for reducing transcription errors and improving efficiency. |
By being honest about what you'll actually use, you can avoid paying for features that sound impressive but don't add value to your workflow.
What rules should be followed when using a laboratory balance?
You invested in a high-precision balance, but your readings are inconsistent. This inconsistency can invalidate entire experiments, costing you time, materials, and confidence in your data.
To get reliable results, always place the balance on a stable, vibration-free surface away from drafts, heat sources, and direct sunlight. Keep it clean, calibrate it regularly, and handle samples with tongs to avoid transferring oils and heat from your fingers. Use a draft shield.

The most expensive balance in the world will give you bad data if it's not used correctly. The rules for using a lab balance6 aren't about complex procedures; they're about controlling the environment and your technique to protect the instrument's sensitivity. Following these fundamentals is non-negotiable for accurate work.
Environmental Control is Key
A high-precision balance is sensitive enough to measure the weight of a fingerprint, so it's no surprise that it can also be affected by its surroundings.
- Vibrations: Never place a balance on the same bench as a centrifuge, vortex mixer, or other vibrating equipment. The best solution is a dedicated, heavy stone weighing table.
- Air Drafts: Air conditioning vents, open windows, or even people walking by can cause readings to fluctuate. This is why analytical balances come with a draft shield—always keep it closed when taking a measurement.
- Temperature: Keep the balance away from direct sunlight and heat-generating equipment. Temperature changes can cause components inside the balance to expand or contract, affecting the reading.
Proper Handling and Technique
How you handle your samples is just as important as the environment.
- Use Tools, Not Fingers: Always use tweezers, tongs, or spatulas to handle samples and their containers. The oils, moisture, and heat from your hands can add measurable weight and create air currents.
- Acclimatize Samples: If you've removed a sample from an oven or refrigerator, allow it to return to room temperature before weighing. A hot or cold object creates air convection inside the weighing chamber, which will make the reading unstable.
- Weigh in the Center: Always place your sample in the center of the weighing pan7 to avoid corner-loading errors.
At my company, every single unit we ship goes through rigorous testing to ensure it performs perfectly. But all that quality control means nothing if the user doesn't create the right conditions in their own lab.
What is the most accurate type of balance?
You need the absolute highest level of precision for your research. Choosing a balance that is even slightly less accurate than required could compromise your results and your credibility.
The most accurate balances are microbalances and ultramicrobalances. They offer readabilities from six (0.000001 g) to seven (0.0000001 g) decimal places, allowing them to measure weights in the microgram (µg) range. These are for highly specialized applications like filter weighing or coating analysis.

When we talk about accuracy, we're really talking about a hierarchy of instruments designed for different jobs. It's crucial to understand where your needs fit on this spectrum to avoid buying a tool that is far too powerful—and expensive—for your task.
Understanding the Tiers of Precision
Not all lab balances are created equal. They fall into categories based on their readability, which dictates their application and cost.
| Balance Type | Typical Readability | Common Use Case |
|---|---|---|
| Precision Balance | 0.1g to 0.001g | General lab weighing, buffer preparation, quality control. |
| Analytical Balance | 0.0001g (0.1mg) | Standard for quantitative chemical analysis and formulation. |
| Semi-Microbalance | 0.00001g (0.01mg) | Research, small sample analysis, high-precision formulation. |
| Microbalance | 0.000001g (1µg) | Particulate matter on filters, stent coating analysis. |
| Ultramicrobalance | 0.0000001g (0.1µg) | Highly specialized research, calibration labs. |
Microbalances and Ultramicrobalances: The Peak of Accuracy
These instruments are marvels of engineering. They are so sensitive that they must be used in stringently controlled environments, often on special anti-vibration tables in rooms with regulated temperature and humidity. The cost increases exponentially with each additional decimal place. An ultramicrobalance8 can cost as much as a new car.
When is "Good Enough" Accurate Enough?
For over 95% of laboratory applications I've encountered, a standard analytical balance with 0.1mg readability is the perfect tool. It provides more than enough accuracy for most chemical analyses and formulation work. The jump in price to a semi-microbalance or microbalance is substantial. Unless your work involves measuring minuscule samples like particulate matter on air filters or tiny amounts of pharmaceutical compounds, you don't need to pay for that level of precision. The goal is to match the tool to the task, not to own the most accurate balance on the market.
How to balance a lab scale?
Your scale isn't level, and you're getting inconsistent readings. This simple physical issue can introduce significant errors, but many people don't know how to fix it themselves.
To balance a lab scale, find the leveling bubble indicator, usually on the front or top of the balance. Then, turn the adjustable feet at the corners of the scale until the bubble is perfectly centered in the circle. This must be done before calibration.

I often get calls from clients worried that their new, expensive balance is faulty because the readings are drifting. The first thing I ask them is, "Is it level?" More often than not, a few minutes spent leveling the device solves the problem completely. This is the most fundamental step in setting up a scale, and it's different from calibration. Leveling is a physical adjustment; calibration is an electronic one.
Step 1: Locate the Leveling Indicator
Almost every laboratory balance has a small, circular spirit level built into its housing. It's a small glass circle with a bubble inside, just like you'd find on a construction level. It's often located near the display or at the back of the unit. The goal is simple: get that bubble into the dead center of the black circle.
Step 2: Adjust the Leveling Feet
The balance will have two or more adjustable feet, which are essentially large screws that act as the legs. By turning these feet, you can raise or lower each corner of the balance.
- If the bubble is too far forward, you'll need to turn the front feet to raise the front of the balance.
- If the bubble is off to the left, adjust the feet on the left side.
- Make small adjustments to an opposing pair of feet at a time until the bubble moves toward the center. It takes a little bit of back-and-forth, but it's a simple process.
Why and When to Re-Level
A balance's weighing mechanism is a sensitive force restoration system that relies on gravity pulling straight down. If the balance is tilted, even slightly, that force is no longer acting perfectly perpendicular to the sensor, which introduces a measurement error. You must check the level:
- During initial setup.
- Anytime you move the balance to a new location.
- Periodically, perhaps once a week, to ensure it hasn't been bumped or shifted.
Checking the level takes ten seconds, but it's the foundation upon which every single accurate measurement is built.
Conclusion
Choosing the right lab balance means focusing on your needs. Prioritize correct accuracy and capacity for your work, and you will find the most cost-effective solution for your lab's budget.
-
Identifying key features of analytical balances can guide you in making an informed purchase. ↩
-
Understanding the importance of accurate measurements in chemical analysis can help you select the right balance. ↩
-
Learn about the specific applications of semi-microbalances to determine if you need one. ↩
-
Researching trusted brands can help you find a balance that offers quality without the premium price tag. ↩
-
Regular calibration is vital for accuracy; learn the best practices to maintain your balance. ↩
-
Understanding the key factors in selecting a lab balance can save you money and ensure you get the right features for your needs. ↩
-
Discover how proper sample placement can prevent measurement errors and improve accuracy. ↩
-
Understanding the unique capabilities of ultramicrobalances can help you assess if they're necessary for your research. ↩


[…] the hood is worlds apart. The same principle applies here. The main drivers of price are precision (readability2), the brand name, the internal weighing mechanism3, and any additional features like data output4 […]
[…] isn't a one-size-fits-all term. For weighing very small samples in the microgram range, a microbalance2 or ultra-microbalance would be even more […]