Your production relies on precise measurements, but are you sure your scale gives the same reading every time? Inconsistent data can lead to costly errors and product recalls.
To test scale repeatability, you must weigh a standard test weight multiple times (usually 10) under controlled conditions. Record each result, then calculate the standard deviation of these measurements to quantify the scale's consistency and ensure it meets your required precision.

When a client's software depends on the data our scales provide, there's no room for error. An inconsistent scale can make even the most brilliant software look faulty. That's why I always stress the importance of understanding and testing for repeatability. It's a fundamental check that builds the foundation for every measurement that follows. Let's walk through why this simple test is so critical and how you can perform it correctly to guarantee the reliability your clients demand.
How does poor repeatability affect the overall accuracy of a weighing scale?
You trust your scale to be accurate, but what if the readings are all over the place? This inconsistency, or poor repeatability, can quietly destroy your quality control and waste resources.
Poor repeatability directly undermines a scale's reliability. Even if the average reading is technically accurate, any single measurement could be significantly wrong. This high variability makes the scale untrustworthy for precise applications, introducing unacceptable uncertainty into your production process and data.

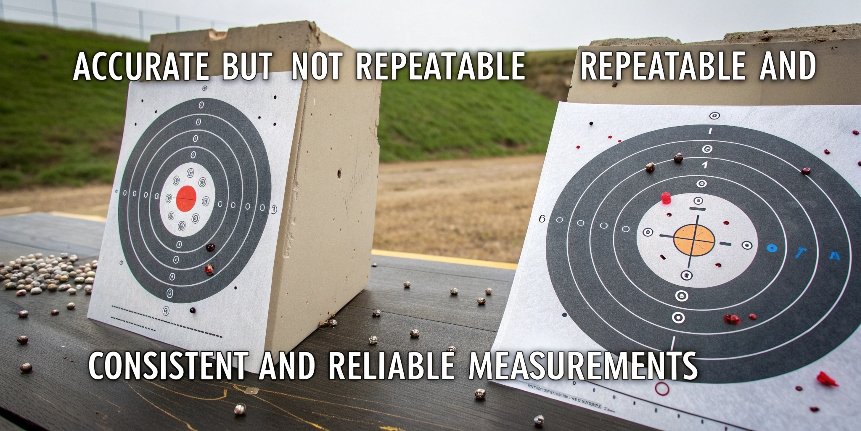
In my 18 years in this business, I've seen people confuse accuracy with repeatability all the time. Think of it like throwing darts. Accuracy is how close you get to the bullseye on average. Repeatability (or precision1) is how close your darts are to each other. You could have a tight cluster of darts far from the bullseye (good repeatability, bad accuracy) or darts scattered all around the bullseye (bad repeatability, but technically "accurate" on average).
The real problem for industrial applications, especially those integrating with software, is the latter. If a scale has poor repeatability, your software receives unpredictable data. One moment it reads 50.1g, the next 50.5g, then 49.8g for the same item. Your system can't make reliable decisions with such noisy data.
The Business Impact of Poor Repeatability
The consequences ripple through the entire operation. It's not just a technical issue; it's a financial one.
| Area Affected | Consequence of Poor Repeatability |
|---|---|
| Product Quality | Inconsistent ingredient amounts lead to faulty batches, failed products, and customer complaints. |
| Material Costs | Over-filling containers to be "safe" results in giving away product and wasting raw materials. |
| Compliance | Failure to meet regulatory standards2 (like net weight requirements) can lead to fines and recalls. |
| Data Integrity | Your software's analytics and automated processes are built on faulty data, leading to bad business intelligence. |
Ultimately, a scale without good repeatability is just a random number generator. It provides a false sense of security while actively damaging your process control.
What is the standard procedure for performing a repeatability test?
You need to test your scale's performance, but just weighing something a few times isn't enough. An improper test can give you false confidence or lead to unnecessary service calls.
The standard procedure involves repeatedly weighing the same calibrated test weight under stable environmental conditions. You place the weight, record the reading, remove it, and re-zero the scale before each of the 10 recommended measurements. Finally, you analyze this data statistically.

Following a structured method is the only way to get results you can trust. I've helped countless technical directors and purchasing managers set up this exact procedure. It removes guesswork and gives you a clear, objective measure of your equipment's performance. It’s a simple process, but every detail matters. Here’s how we do it, broken down into clear steps.
Step 1: Preparation is Everything
Before you even touch the scale, you need to set the stage for an accurate test.
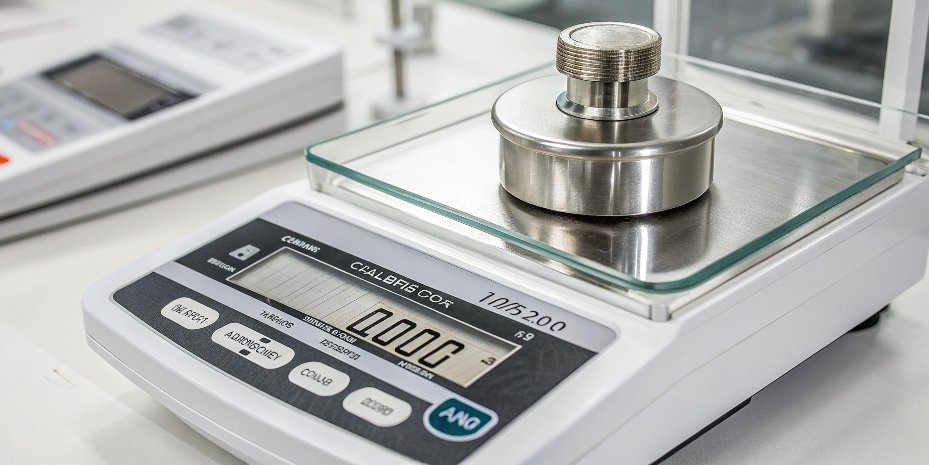
- Select a Test Weight: Choose a certified, standard test weight3 that is close to the scale's maximum capacity. For a 100g scale, a 50g or 100g weight is ideal. Using a weight that is too light won't properly challenge the load cell4.
- Control the Environment: The testing area5 must be stable. This means maintaining a temperature between 18-25°C and humidity between 40%-60%. More importantly, eliminate any air currents by closing doors and windows. Turn off nearby fans or AC units blowing directly on the scale. Also, ensure the scale is on a solid, vibration-free surface.
Step 2: The Testing Protocol
Once the environment is stable and you have your weight, you can begin the test. Consistency is your primary goal here.
- Warm-up and Calibrate: Turn the scale on and let it warm up for at least 30 minutes. Then, perform a full calibration using your standard weights. This ensures your starting point is accurate.
- Zero the Scale: Press the "Tare" or "Zero" button to ensure the display reads zero with nothing on the pan.
- First Measurement: Carefully place the test weight in the center of the weighing pan. Wait for the reading to stabilize, then record the exact value.
- Remove and Re-Zero: Remove the weight from the pan. Wait for the display to return to zero. If it doesn't, press the "Zero" button again.
- Repeat: Repeat steps 3 and 4 for a total of 10 measurements. Record each reading carefully.
By following this exact sequence, you minimize variables and ensure the data you collect solely reflects the scale's performance.
How do you interpret the results of a repeatability test to diagnose scale issues?
You've completed the test and now you have a list of 10 numbers. What do they mean? Without proper interpretation, the data is useless and you won't know if your scale passed or failed.
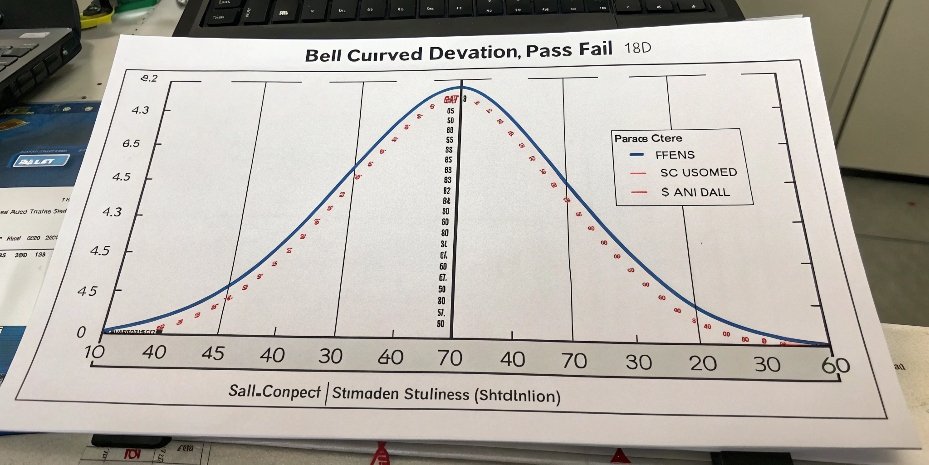
To interpret the results, you calculate the standard deviation (SD) of your 10 measurements. A low SD means the readings are tightly clustered and repeatability is good. You then compare this SD to your scale's official tolerance or a general industry rule.

This is where your technical expertise comes into play. The numbers tell a story about the health of your scale. As a rule of thumb, we look for the repeatability error to be extremely small. Let's make this data work for you.
Calculating the Key Metric: Standard Deviation
Standard deviation is a statistical measure that tells you how spread out your data points are from the average. A small SD is what you want—it means every measurement was very close to the others. You don't need to be a statistician to do this; a simple spreadsheet formula does the work.
- The Formula: In Excel or Google Sheets, list your 10 readings in a column (e.g., cells A1 to A10). In an empty cell, type the formula:
=STDEV.P(A1:A10). - The Result: The number this formula gives you is the standard deviation6 of your test. For example, you might get a result like
0.002g.
Judging Pass or Fail
Now that you have your standard deviation, you need a benchmark to compare it against.
- Manufacturer’s Specifications: The best source is the scale's data sheet, which may list a specific tolerance for repeatability.
- The Industry Rule: A widely accepted general rule is that the repeatability error (your SD) should be less than or equal to one-third of the scale's readability. For a scale with a readability of 0.01g, your SD should ideally be less than
0.01 / 3 = 0.0033g.
Here’s a simple table to help you judge the result:
| Standard Deviation Result | Interpretation | Action |
|---|---|---|
| ≤ 1/3 of Readability | Excellent (Pass) | The scale is performing reliably. No action is needed. |
| > 1/3 and ≤ Readability | Acceptable (Caution) | The scale is usable but may need monitoring or service soon. |
| > Readability | Poor (Fail) | The scale is unreliable. Investigate the cause or call for service immediately. |
If you see one reading that is wildly different from the others (an outlier7), it's best to discard the entire test and start over after checking for any obvious problems. A single fluke can skew your results.
What are the most common environmental or mechanical causes of bad repeatability?
Your scale failed the repeatability test and the standard deviation is too high. This is frustrating, but it's also a clue. The scale is telling you that something is wrong.
The most common causes of poor repeatability are environmental disturbances like vibrations, air drafts, and temperature changes. Mechanical culprits include an unlevel surface, debris under the weigh pan, or a failing load cell. Identifying the source is key to fixing the problem.

After years of troubleshooting weighing systems, I can tell you that the cause is almost always simpler than you think. Before you assume the scale itself is broken, it's crucial to investigate the external factors. These issues are often easy and inexpensive to fix, but they have a massive impact on performance. Let's break down the likely suspects, starting with the environment around the scale.
Environmental Saboteurs
Your scale is a sensitive instrument. Its immediate surroundings can easily interfere with its ability to produce consistent readings.
| Environmental Cause | How it Affects the Scale |
|---|---|
| Vibrations | Foot traffic, nearby heavy machinery, or even a shaky table introduces "noise" that the load cell picks up as weight fluctuations. |
| Air Currents | An open door, an HVAC vent, or even a person breathing too close can exert force on the weigh pan, causing unstable readings. |
| Temperature & Humidity | Rapid changes can cause electronic components to expand or contract, leading to drift and inconsistency in the signal. |
| Static Electricity | A static charge, especially in dry environments, can create an attractive or repulsive force that interferes with the measurement. |
Mechanical Failures
If you've ruled out environmental factors, it's time to look at the physical condition of the scale itself. These issues often develop over time due to wear and tear or improper use.
- Unlevel Surface: This is the #1 mechanical issue. If the scale isn't perfectly level, the load cell won't receive the force correctly, leading to inconsistent results, especially if the test weight is placed slightly off-center. Always check the bubble level.
- Debris and Contamination: Small particles of dust, powder, or dirt can get trapped under the weigh pan or in the load cell mechanism. This physical interference prevents the pan from moving freely and returning to a true zero.
- Load Cell Damage: The load cell is the heart of the scale. Dropping something on the scale (shock loading) or placing a weight far beyond its capacity (overloading) can permanently damage this sensitive component, causing erratic behavior.
- Calibration Drift: All scales drift over time. If it has been a long time since the last calibration, the scale's internal reference points may be off, contributing to inconsistent performance across its weighing range.
Conclusion
Testing your scale's repeatability is a quick, non-negotiable step for data integrity. It ensures the hardware provides the reliable foundation your software and quality control systems need to succeed.
-
Understanding the difference between accuracy and precision is vital for effective measurement practices. ↩
-
Understanding regulatory standards helps ensure compliance and avoid costly fines. ↩
-
Learn about standard test weights and their role in ensuring measurement accuracy in various applications. ↩
-
Understanding load cells is key to grasping how scales measure weight accurately. ↩
-
Setting up a proper testing area is crucial for obtaining reliable scale readings. ↩
-
Calculating standard deviation helps assess the reliability of your scale's measurements. ↩
-
Identifying outliers is crucial for accurate data analysis and interpretation. ↩


Comments (0)