Your production relies on accuracy, but an out-of-tolerance scale threatens quality and profits. You need a clear plan now to stop a small issue from becoming a major disaster.
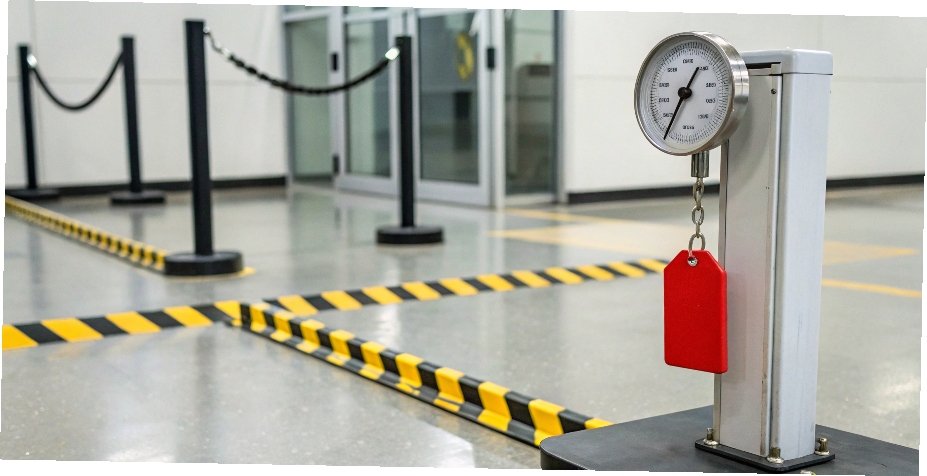
Immediately stop using the scale. You must attach a clear tag that says "Out of Tolerance" or "Do Not Use" to prevent anyone from using it by mistake. Then, move the equipment to a designated secure area, away from all working instruments.

Taking a faulty scale out of service is the critical first step. But what you do next is just as important. Properly isolating the device, assessing the potential product damage, and finding the root cause are all part of a professional quality control process. Every step you take from this point forward is about protecting your product, your customers, and your bottom line. Let's walk through the exact procedures I've developed over 18 years in the industrial weighing industry.
What is the standard procedure for quarantining an out-of-tolerance instrument?
A faulty scale gets mixed with working ones, causing confusion. This raises the risk of someone using the bad scale again, leading to more bad product and bigger losses.
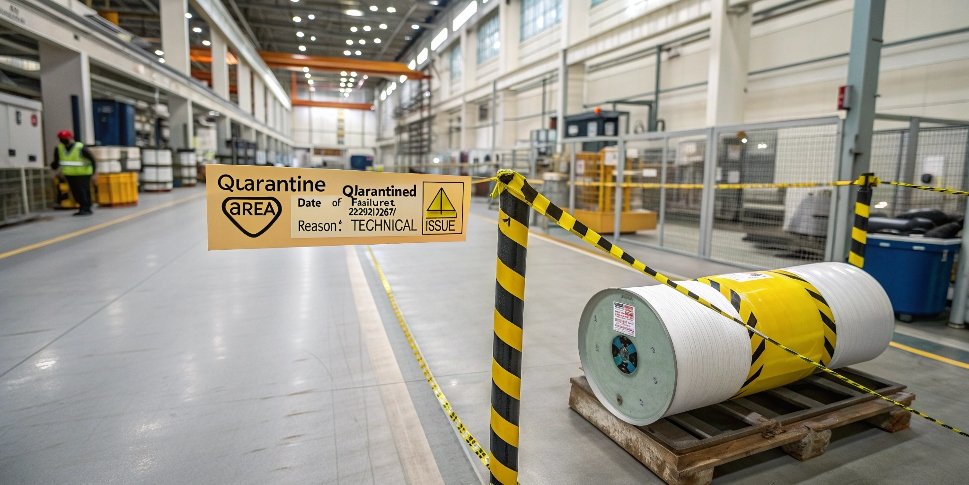
The standard procedure is to move the scale to a physically separate, designated quarantine area. You must label the instrument clearly with its status, the date of failure, and the reason for quarantine. Finally, officially notify all relevant personnel of its status.

Quarantining a scale is more than just putting it in a corner. It's a formal process that ensures total control and prevents mistakes. Based on my experience helping clients manage their equipment, a robust quarantine procedure is essential for any serious operation. First, your designated quarantine area should be clearly marked and, if possible, access-controlled. Next, the tag on the scale needs to provide all necessary information: the equipment ID1, the date it failed calibration, the name of the technician who found the failure, and a brief description of the problem. You must also update your asset management system. Change the scale's status to "quarantined" or "undergoing maintenance." This digital record stops anyone from accidentally assigning the scale to a new production task. Finally, establish a clear communication protocol2. An email or an update in your team's management software should go out to the production manager, quality control team, and maintenance department. This ensures everyone is aware and no one uses the faulty device.
How do I assess the risk and impact on products measured before the calibration failure was found?
You discovered the scale is inaccurate, but you don't know when the failure started. Every product weighed since the last good calibration could be off-spec, creating a huge potential for recalls.
To assess the risk, you must first find the date of the last successful calibration in your records. All products that were weighed on that scale between that date and the day the failure was found are now suspect. These products must be quarantined and re-evaluated.

This process can be stressful, but a structured approach makes it manageable. From my work with global brands, I've seen how a quick and thorough risk assessment3 can save a company from major financial and reputational damage. Your first step is to define the exact risk window. Pull the calibration certificates4 to find the last known date the scale passed inspection. The period from that date to now is your timeframe. Next, use your production logs5 to identify every single batch, lot, or component that was measured with that scale during this period. Once you have this list, you can evaluate the impact. The severity depends on your product and industry. For example, an inaccurate measurement in the pharmaceutical or aerospace industry is a critical failure. For less sensitive applications, the impact might be lower.
Here is a simple table to help guide your decision-making:
| Impact Level | Industry / Product Example | Recommended Action |
|---|---|---|
| High | Pharmaceuticals, food additives, aerospace parts | Quarantine 100% of affected products. Contact regulatory bodies if required. Disposal may be necessary. |
| Medium | Bulk chemicals, wholesale ingredients, packaged goods | Quarantine all batches. A full re-weigh or a statistically significant sample re-weighing is required. |
| Low | Internal logistics, waste management, aggregates | Document the potential discrepancy. Re-weighing is recommended but may not be critical depending on the application. |
Should the out-of-tolerance scale be adjusted, repaired, or replaced?
Your scale is faulty, and you have a choice. A quick adjustment is cheap, but a repair takes time and money. A full replacement is expensive upfront, but might be the best long-term solution.
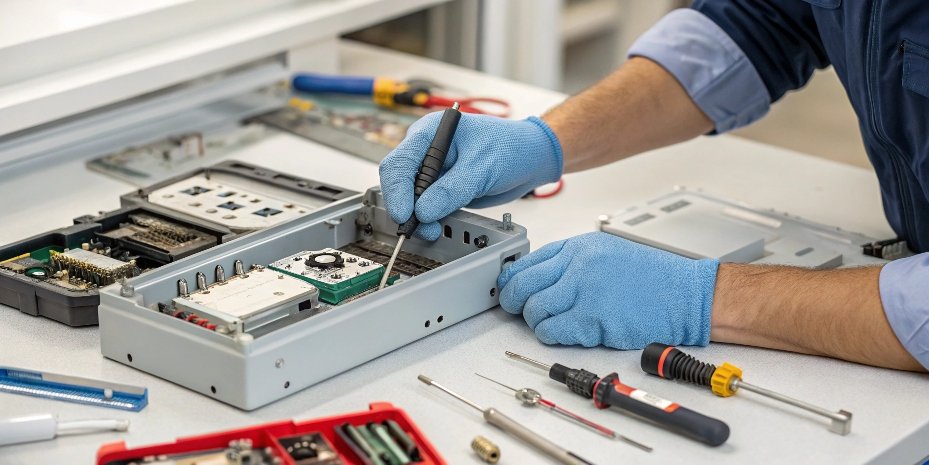
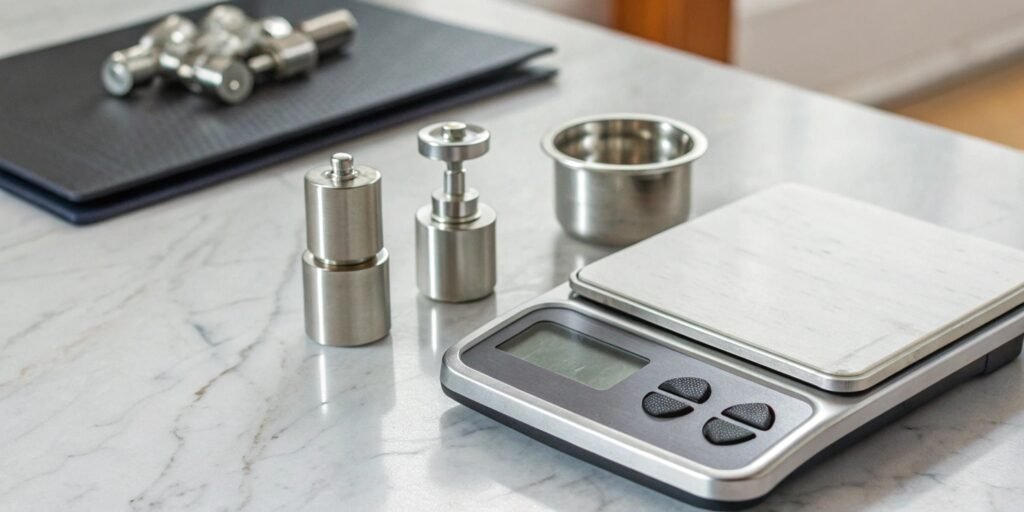
If the error is minor and consistent, a simple adjustment by a qualified technician is the best choice. If a component like a sensor is broken or the issue keeps returning, it needs repair. If the repair costs are high or the scale is outdated, replacement is smarter.

Deciding whether to adjust, repair, or replace comes down to a cost-benefit analysis. As a manufacturer, we help customers make this choice every day. An adjustment is for minor drift, often corrected during a routine calibration service. It's fast and low-cost. A repair is necessary when a specific part has failed. This requires a professional diagnosis from a technician. You need to weigh the cost of the replacement part plus the labor against the scale's age and overall condition. A good rule of thumb I suggest to clients is this: if the repair cost exceeds 50% of the price of a new scale, you should seriously consider replacement. A new scale isn't just a fix; it's an upgrade. Modern scales, especially IoT-enabled ones, offer better data collection, improved reliability, and new features that can enhance your entire production process. Don't forget to factor in the cost of downtime. A new, reliable scale often means less future downtime, saving you money in the long run.
What is involved in a root cause analysis to prevent future calibration failures?
You fixed the immediate problem, but you don't know why it happened. Without knowing the root cause, the same failure could happen again next week, causing more disruption and costs.
A root cause analysis goes beyond the symptom to find the true source of the problem. It involves checking environmental conditions, operator usage, component wear, and the suitability of your calibration process. The goal is to create a plan to prevent a recurrence.

Fixing the scale is reactive; preventing the failure from happening again is proactive. In my 18 years, I've learned that the most successful companies are proactive. A root cause analysis6 (RCA) is your best tool for this. Start by gathering all the data: old and new calibration reports, maintenance logs, operator feedback, and any records of the scale's environment like temperature or vibration spikes. A simple but effective method is the "5 Whys" technique. Ask "Why?" repeatedly until you get to the core issue. For example: Why was the scale out of tolerance? Because the load cell was damaged. Why was it damaged? Because it was overloaded. Why was it overloaded? Because an operator placed a pallet on it incorrectly. Why did they do that? Because they were never trained on proper loading procedures. The root cause is a training gap, not just a broken part. Investigate these key areas: environment (power surges, humidity), personnel (improper use), equipment (is it old or wrong for the job?), and process (is your calibration schedule frequent enough?). Your findings will lead to a corrective and preventive action7 (CAPA) plan, which could involve better training, environmental controls, or upgrading to a more robust scale designed for your specific application.
Conclusion
An out-of-tolerance scale demands swift quarantine and risk assessment. By analyzing the root cause and choosing wisely between repair or replacement, you protect your products and strengthen your process.
-
Equipment IDs help track and manage equipment status effectively. ↩
-
Effective communication ensures all team members are informed and aligned. ↩
-
A structured risk assessment can save your company from significant losses. ↩
-
Understanding calibration certificates is vital for maintaining equipment accuracy. ↩
-
Accurate logs are essential for tracking and assessing product quality. ↩
-
Discover effective methods to identify and prevent recurring issues in processes. ↩
-
A CAPA plan is essential for addressing and preventing future failures. ↩


Comments (0)