A scale failing calibration stops your production. This unexpected downtime costs you time, money, and customer trust. But don't panic, there are simple steps to fix it quickly.
If your scale fails calibration, first isolate it to prevent use. Check for simple issues like an unstable surface or debris. If problems persist, contact your service provider for adjustment or repair. Always document the failure and the steps taken for your quality records.
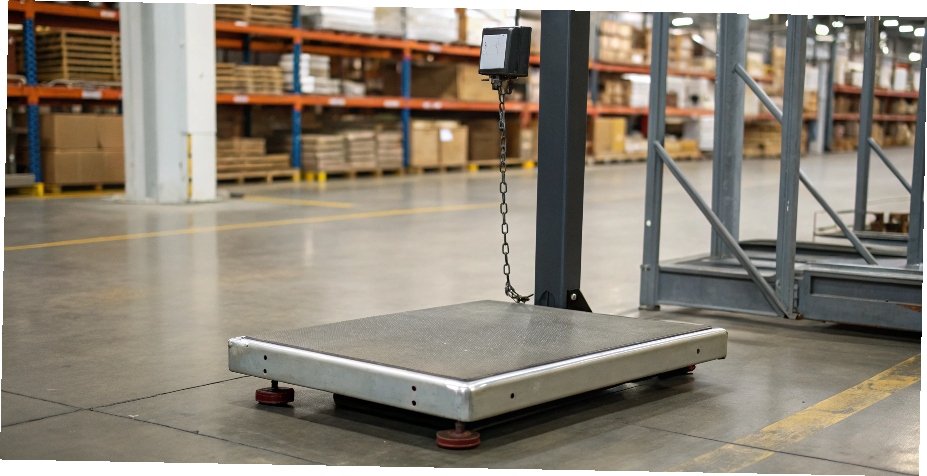
A failed calibration can be frustrating, but it's also a critical check on your quality system. It tells you something is wrong before it causes a major product issue. Understanding the details behind the calibration process can prevent future failures and save you a lot of headaches. It all starts with understanding the language used, which can sometimes be confusing. Let's dive into some of the most common questions I get from clients.
Is there a difference between "NIST traceable" and "NIST certified"?
The terms "NIST traceable" and "NIST certified" sound similar and cause a lot of confusion. Choosing the wrong one can lead to non-compliance. Understanding this simple difference ensures you always meet quality standards.
Yes, there is a big difference. "NIST traceable" means the calibration was done using standards that can be traced back to NIST. "NIST certified" is a common misunderstanding; NIST does not certify equipment or labs directly. Instead, labs are accredited by other bodies.
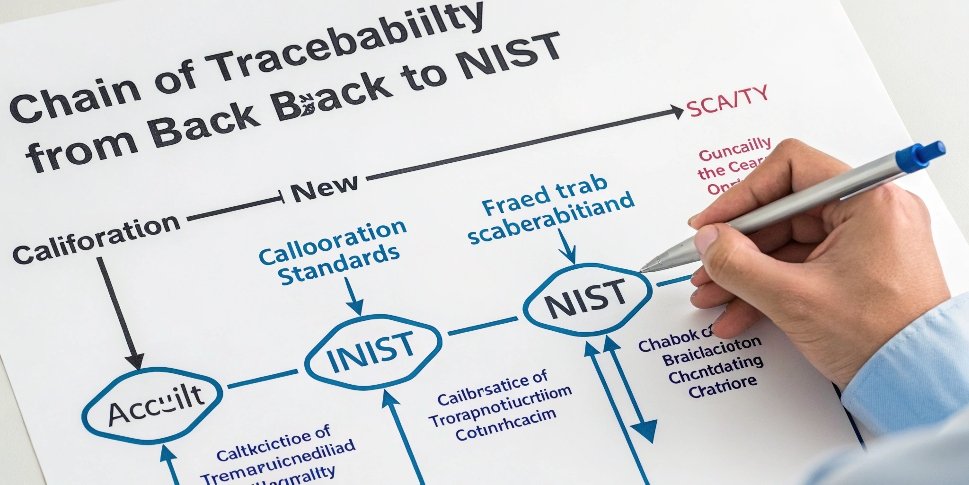
This is a point that trips up many people, so let’s break it down. The National Institute of Standards and Technology (NIST) is a U.S. government agency that sets the standards for measurement. They don't go around checking every company's scales. Instead, they create a system of traceability. Think of it like a family tree. Your scale is calibrated using a set of master weights. Those weights were calibrated by a lab using even more accurate weights. That chain of comparisons goes all the way back to the primary standard maintained by NIST. This unbroken chain of documentation is what makes a calibration "NIST traceable1."
A lab isn't "NIST certified," but it can be accredited by an independent body like A2LA or NVLAP. This accreditation proves the lab has the technical competence and quality management systems to perform traceable calibrations. At Weigherps, we ensure our calibration partners maintain this traceability, because we know your software and systems depend on accurate data from our scales.
| Feature | NIST Traceable | "NIST Certified" (Misconception) |
|---|---|---|
| Meaning | An unbroken chain of comparisons to NIST standards. | A term often used incorrectly. NIST doesn't certify labs. |
| Who Does It? | An accredited calibration laboratory. | Not applicable. |
| What It Applies To | The measurement result on your certificate. | Not applicable. |
| Your Goal | Always ask for a NIST traceable calibration. | Avoid using this term to prevent confusion. |
How can I verify the authenticity of a calibration certificate?
You receive a calibration certificate, but how do you know it's real? A fake or inaccurate certificate puts your entire quality system and reputation at risk. There are specific key elements you can check.
To verify a certificate, check for the accrediting body's logo (e.g., A2LA, NVLAP) and the lab's accreditation number. You can look up the lab on the accrediting body's website. Also, ensure all required information, like "as found" and "as left" data, is present.

A proper calibration certificate2 is more than just a piece of paper; it’s a legal document that proves your equipment measures correctly. Over my 18 years in this industry, I've seen my share of documents, and I always tell our clients to treat them like a detective. Look for the clues. The most important clue is the accreditation logo and number. It's like a badge of honor for the lab. You can take that number and check it on the accrediting body3’s website to confirm the lab is in good standing and is accredited for the specific type of calibration you needed.
Beyond that, the data on the certificate is critical. You must see "as found" and "as left" readings. "As found" tells you the condition of the scale before any adjustments. If it was out of tolerance, you might need to investigate products made since the last calibration. "As left" data confirms it is now within tolerance. Without both, the certificate is incomplete.
What to Check on a Calibration Certificate:
- Accreditation Body Logo and Number: Confirms the lab is verified by a third party.
- "As Found" Data: Shows the device's condition before adjustment.
- "As Left" Data: Shows the device's condition after calibration.
- Measurement Uncertainty: States the potential range of error in the calibration itself.
- Equipment Identification: Your device's model and serial number must be listed correctly.
- Date and Technician Signature: Confirms who did the work and when.
How long does the entire calibration process take? Do I need to send my equipment out?
You need your scale calibrated, but you cannot afford significant downtime. The idea of packing up heavy equipment and waiting weeks is a logistical nightmare. The process is often faster and less disruptive than you think.
Calibration time varies. On-site calibration can take 30 minutes to a few hours per device, minimizing downtime. Sending equipment to a lab can take several days. Most large industrial scales, like the ones we manufacture, are calibrated on-site to keep your operations running.
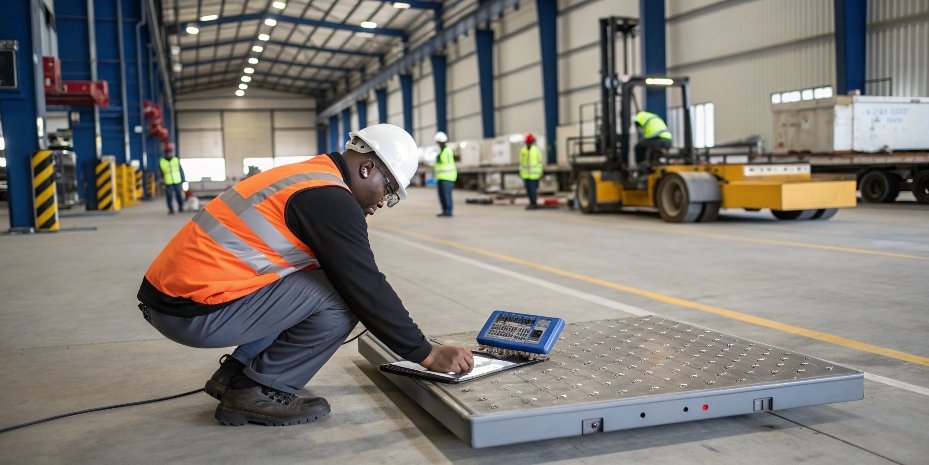
For most of my clients who use large industrial scales4, on-site calibration5 is the only practical option. It’s what we design our equipment for. A trained technician comes to your facility, which is a huge advantage. First, there's no need to ship a heavy, sensitive piece of equipment, which avoids potential damage and high freight costs. Second, the downtime is minimal — often just an hour or two. Most importantly, the scale is calibrated in the exact environment where it operates. Temperature, vibration, and air currents can all affect a scale’s performance, so calibrating it on-site gives you the most accurate and realistic result.
Sending a scale out to a lab is usually reserved for smaller, extremely high-precision laboratory balances or for when a scale needs significant repair that can't be done in the field. While the lab environment is perfectly controlled, the process takes much longer due to shipping and scheduling. For the vast majority of industrial applications, on-site is the way to go.
| Calibration Method | Best For | Pros | Cons |
|---|---|---|---|
| On-Site | Large industrial scales, integrated systems | Minimal downtime, no shipping risk, real-world accuracy | Technician scheduling, may cost more |
| Off-Site (Lab) | Small lab balances, reference weights | Highly controlled environment, specialized equipment | Long downtime, shipping risks, costs |
Besides balances/scales, what other equipment requires NIST calibration?
You have calibrated your scales, but you think your quality control job is done. But uncalibrated equipment elsewhere in your process can silently undermine your product quality. Knowing what else needs calibration protects your entire system.
Many instruments require NIST traceable calibration. This includes thermometers, pressure gauges, calipers, multimeters, flow meters, and torque wrenches. Any device used for critical measurements that impact quality, safety, or compliance should be regularly calibrated against a known standard.
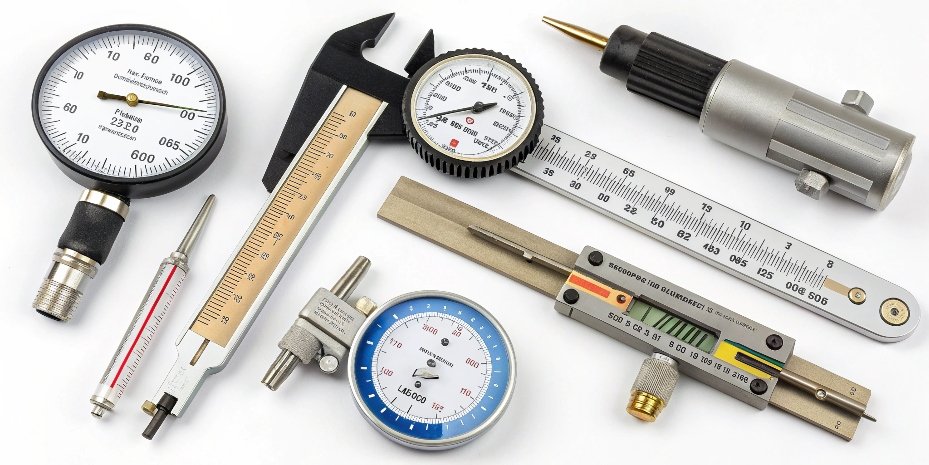
This is an area that's especially important for our clients in the software and smart device sectors. Your technology is only as good as the data it receives. If you're developing an IoT system that relies on sensors, those sensors must be accurate. A weighing system is just one part of a much larger ecosystem of measurement. Think about all the other devices in your production line or lab that provide quantitative data. Anything that measures something critical needs to be checked.
For example, if your process requires a specific temperature, the thermometer or temperature probe6 must be calibrated. If you're tightening bolts to a precise specification, the torque wrench7 has to be accurate. We design our IoT-enabled scales to be one precise input in your smart factory. But to ensure total quality, you have to be confident in all your measurement inputs. Making a list of all critical measurement equipment and putting it on a regular calibration schedule is one of the most important things you can do for quality control8.
| Measurement Type | Common Equipment |
|---|---|
| Mass | Balances, Scales, Load Cells |
| Dimensional | Calipers, Micrometers, Height Gauges |
| Electrical | Multimeters, Power Supplies, Oscilloscopes |
| Thermal | Thermometers, Ovens, Environmental Chambers |
| Force & Pressure | Torque Wrenches, Pressure Gauges, Force Gauges |
Conclusion
A calibration failure is not a disaster. By understanding the process, verifying certificates, and scheduling regular service, you can ensure your measurements are always accurate, protecting your quality and profit.
-
Understanding NIST traceability is crucial for ensuring compliance and quality in measurements. ↩
-
Discover how to ensure your calibration certificates are legitimate and protect your quality system. ↩
-
Learn about the role of accrediting bodies in maintaining quality standards for calibration. ↩
-
Discover best practices to ensure your industrial scales remain accurate and compliant. ↩
-
Learn why on-site calibration is often the best choice for minimizing downtime and ensuring accuracy. ↩
-
Learn the steps to calibrate temperature probes for accurate thermal measurements. ↩
-
Understand the significance of torque wrench calibration for ensuring precise assembly. ↩
-
Discover the critical role of calibration in maintaining high standards of quality control. ↩



Comments (0)