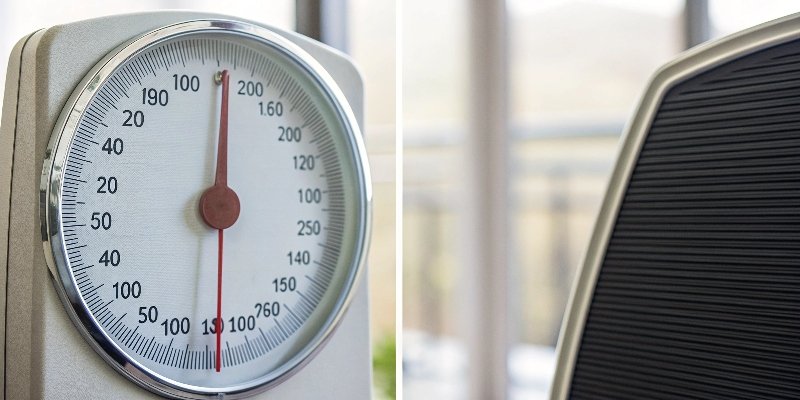
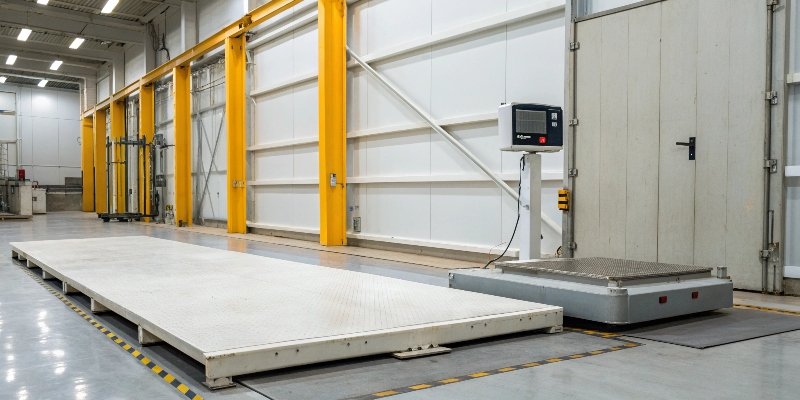
You trust your scale’s display, but what if that number is wrong? This small error can lead to big problems in production, affecting quality and costing you money.
True scale accuracy goes beyond the displayed number. It depends on five key factors: proper calibration, linearity across the full range, consistent repeatability, the scale's actual resolution, and stability within its environment. These elements together determine a scale's real-world precision.

Choosing a scale can feel overwhelming. You see lots of numbers and technical terms. Many people just look at the readability1, or how many decimal places the scale shows. They think more decimal places mean a more accurate scale. I have seen this mistake many times in my 18 years in the business. But real accuracy is much deeper than that. Let’s break down what truly matters, so you can choose a scale that you can always trust.
What determines a scale's accuracy beyond its display resolution?
Your process demands precision, but the scale's display might not tell the whole story. Relying on it alone can introduce hidden errors, compromising your final product and profitability.
A scale's true accuracy is built on calibration, linearity, and repeatability. Calibration sets the baseline, linearity ensures accuracy across all weights, and repeatability guarantees consistent measurements every single time you weigh.

When we talk about a scale's performance, we have to look past the screen. Three factors are the foundation of a reliable measurement. I think of them as the legs of a stool; if one is weak, the whole thing is unstable.
1. Calibration
Calibration is the most basic step. It's like tuning a guitar. You adjust the scale so it matches a known, certified weight. Without good calibration, even the most expensive scale is just making a guess. We calibrate every single scale before it leaves our factory, ensuring it's accurate from day one.
2. Linearity
Linearity is about trust across the entire weighing range. A scale might be accurate at 10kg but off at 50kg. Linearity error means the scale's accuracy changes as the weight increases. I once helped a client who was having trouble with batching. Their small ingredients weighed correctly, but the large ones were always off. The problem was poor linearity2. We gave them a scale with excellent linearity, and their consistency problems disappeared.
3. Repeatability
Repeatability is about consistency. If you weigh the same item ten times, do you get the same result ten times? Deviations show a lack of precision. This is critical for quality control where the same product is checked over and over. Good repeatability means you can trust your process is stable.
| Factor | What It Means | Why It Matters |
|---|---|---|
| Calibration | Setting the scale to a known standard | Ensures the starting point for all measurements is correct. |
| Linearity | Accuracy across the full weight range | Guarantees reliable results for both light and heavy items. |
| Repeatability | Getting the same result repeatedly | Proves the scale is precise and your process is consistent. |
Why is readability often a misleading indicator of precision?
You've found a scale with many decimal places, thinking it must be highly precise. But when your results are inconsistent, you realize that a detailed display doesn't guarantee accuracy.
Readability is simply the smallest increment a scale's display can show. Precision, however, is a measure of the scale's ability to provide that reading accurately and repeatedly. A high-resolution display on an unstable scale is misleading.

I talk to a lot of technical directors, and this is a common point of confusion. It's easy to look at a display showing 0.001g and think, "This is exactly what I need." But that number can be a trap. Let's separate readability from true precision and accuracy.
Readability vs. Resolution
First, let's be clear. Readability is what the scale displays. It's the smallest digit shown on the screen. True resolution is the smallest change in weight the scale can actually detect. Sometimes these are the same, but not always. An unstable sensor can have a display that shows many decimal places, but the last few digits might just be random noise.
A Watch Analogy
Think of it like a digital watch. A watch that displays seconds (high readability) might run five minutes fast (low accuracy). The detailed display gives you a false sense of confidence. You see the seconds ticking by, but the core timekeeping is wrong. A scale is the same. It can show you a very specific number, but that number might not be the true weight. I remember a customer who bought a cheap lab scale because it had three decimal places. They couldn't figure out why their formulas were inconsistent. We tested their scale and found that while it displayed 10.000g, its actual reading fluctuated between 9.980g and 10.020g. The last two digits were essentially useless. True precision means the displayed number is both stable and correct.
How can you properly test a scale for true accuracy?
You've bought a new scale, but how can you be sure it's accurate? Waiting for a production problem to appear is a costly way to find out you made the wrong choice.
To properly test a scale, use certified calibration weights. Check for accuracy at zero, mid-range, and full capacity (linearity). Then, weigh the same object multiple times to confirm its consistency (repeatability).

You don't need a complex lab to verify your scale's performance. As a manufacturer, we do intense testing, but our clients can perform simple, effective tests on their own. I always advise our clients to do this, especially if they are integrating our hardware with their software. It builds trust in the entire system. Here is a straightforward process you can follow.
The Tools You Need
All you need is a set of certified calibration weights3. It's important that these weights are certified, meaning their exact mass is known and guaranteed. Using random objects won't work because you don't know their true weight.
A Simple Testing Procedure
Follow these steps to get a clear picture of your scale's performance:
- Zero Test4: Make sure the platform is empty and press the Zero or Tare button. The display should read exactly zero and stay there. This checks the scale's stability.
- Linearity Test5: Test the scale at different points in its range. If you have a 100kg scale, try a 20kg weight, then a 50kg weight, and finally a 100kg weight. The scale should read the correct weight at each step. This ensures it's accurate for both small and large loads.
- Repeatability Test6: Choose one weight, for example, the 50kg one. Place it on the scale and record the reading. Remove it, let the scale return to zero, and then place it on again. Do this 5-10 times. The readings should be identical or extremely close every single time. This shows the scale is precise.
By performing these simple checks, you can be confident that your scale is truly accurate and won't let you down.
What are the most critical factors for ensuring consistent scale performance?
Your scale was accurate at first, but now the readings are drifting. This inconsistency is frustrating, causing delays and rework, and you can't seem to find the root cause.
Consistent scale performance depends heavily on controlling environmental factors. Temperature fluctuations, air drafts, ground vibrations, and even static electricity can interfere with a scale's sensitive sensors, causing inaccurate and inconsistent readings.

We've covered the internal factors of a scale: calibration, linearity, and repeatability. But a high-quality scale7 can still give bad readings if its environment is unstable. I've seen this happen many times. A client will call me, convinced their new scale is faulty. More often than not, the problem isn't the scale—it's where the scale is located.
Battling the Environment
Sensitive weighing instruments are susceptible to outside interference. Think about these four common issues:
- Vibrations: Is the scale near a large motor, a generator, or a forklift path? Constant ground vibrations can shake the load cell and create unstable readings. We often recommend vibration-damping tables or pads for high-precision applications.
- Air Drafts: An open door, a window, or even an aggressive HVAC vent blowing on the scale can be enough to affect a sensitive measurement. A draft shield is a simple but very effective solution.
- Temperature Changes: Rapid changes in temperature can cause the metal components inside a scale to expand or contract, which can throw off its calibration. The scale should be used in a temperature-stable room and given time to acclimate before use.
- Static and Power Issues: Static electricity and unstable power supplies can create electronic "noise" that interferes with the sensor's signal. Using a dedicated power outlet and anti-static mats can help solve these problems.
At Weigherps, we design our scales to be as robust as possible. We use shielding and advanced filtering algorithms to minimize these effects. However, for maximum consistency, controlling the environment is always the best strategy.
Conclusion
Choosing the right scale requires looking beyond the display. True accuracy comes from calibration, linearity, repeatability, and managing environmental factors. Understanding these elements ensures you get reliable performance every day.
-
Readability can give a false sense of precision; explore why true accuracy is more than just display numbers. ↩
-
Linearity ensures accuracy across the entire weight range; explore its importance for consistent results. ↩
-
Certified calibration weights are essential for accurate testing; discover their role in ensuring scale precision. ↩
-
The Zero Test is crucial for stability; learn how to perform it to ensure your scale starts at zero. ↩
-
Conducting a Linearity Test ensures accuracy across the weight range; find out how to perform this essential check. ↩
-
A Repeatability Test confirms measurement consistency; explore its significance in maintaining quality control. ↩
-
Understanding the characteristics of high-quality scales helps in making informed purchasing decisions. ↩


[…] Move the scale or use a draft shield2. […]
[…] weight. If you place a certified 10 kg weight on the scale, an accurate scale will read 10 kg. Repeatability2 is about consistency. If you weigh that same 10 kg item five times, do you get the exact same […]